

The list of 'things' you can build with a Raspberry Pi is only limited by imagination, especially when the device is supported by a camera module.
The Camera Module has been available for a while and was even given an update with the V2 unit in 2016, allowing users fit Sony's IMX219 8MP sensor to their Raspberry Pi boards. This can be used to take photos or record videos, and even use slow motion or timelapse techniques once you get comfortable with its more advanced features.
The module can shoot video in 1080p at 30 frames per second, or 720p at 60 frames per second, and connects via a ribbon cable that goes into the CSI port on your Raspberry Pi.
To get the most out of this tiny piece of hardware, we've compiled a list of some of the most intriguing projects around. Many of these are fairly advanced and might need more technical knowledge than previous projects listed, so be prepared to challenge yourself.
Build a Raspberry Pi webcam
Video calls have become the norm for most of us during the pandemic and that's often meant settling for whatever low resolution your laptop has on its built-in camera. However, a project on Hackster.io has shown how you can use a Raspberry Pi's camera module to stream live video over a web browser.
For the project, you'll need a Raspberry Pi Zero W, 5MP camera module, and a special cable to connect the camera to Pi Zero. A programme runs on the Raspberry Pi to connect to RemoteMe, which allows streaming video from the camera connected to our Raspberry Pi. Streaming video is done via the WebRTC protocol, which allows the image to be transmitted almost without any delays to the web browser, even if the web browser and Raspberry Pi are running on separate networks.
For full instructions on how to create a Raspberry Pi webcam, head on over to Hackster.io.
Build a doorbell camera

The best thing about the Raspberry Pi camera module is that it's incredibly small, so small in fact that you can combine it with a fairly basic wireless doorbell to create a system that can rival many of the more expensive surveillance kits on the market.
When a visitor comes to your door and presses the bell, the wireless doorbell pings a signal to a receiver to activate a chime as normal. However, that signal is also intercepted by the Raspberry Pi board, which is able to activate the camera to take an image of te visitor. Given the capabilities of the Raspberry Pi, this stored image can then be transmitted to your mobile phone, or even a home automation system.
To get started, you'll need a wireless doorbell, a Raspberry Pi with an attached camera module, an RF sensor, and either a mobile phone or home automation system to receive messages.
For a step-by-step guide to building this incredibly useful piece of kit, head here.
Shoot stunning time-lapses with Raspberry Pi

Owners of the Raspberry Pi camera have been creating an assortment of different projects, many of which you can read about in this guide, but here's one that turns your Raspberry Pi into a camera that shoots one of the most recognisable styles of video around.
This one is fairly straightforward all you need is a Pi, a Pi camera, power supply, SD card and a keyboard and mouse. It involves connecting the camera to the Raspberry Pi and running a script to tell the device how to record images for a time-lapse.
A detailed walkthrough of how to run the required script can be found here. Running the device off a reasonably sized battery pack will give you a few hours worth of juice to capture a beautiful sunset or any other scenery that involves movement.
Make your own stop motion film

Using a camera module with a Raspberry Pi you can create your own stop motion flick by in the mould of Shaun the Sheep by taking a series of pictures through a push-button module connected to the Pi's GPIO pins.
For this, you'll need a Raspberry Pi camera module, a full-size breadboard, two male-to-female jumper leads and one tactile button. There's also a software requirement in the form of getting the libav-tools package, for which you'll need to be online to install.
As part of the project, users will learn how to set up and use the camera module, and how to use the Python picamera library to take still images. The Raspberry Pi Foundation's guide also covers aspects from how to control the camera using GPIO zero, and how to generate a video from the command line so the still images are packaged into a finished article.
Once you've generated a stop-motion clip you can start experimenting with the setup, for example, by installing a motion sensor instead of a push-button.

-
 Intel to axe 24,000 roles, cancels factory plans in sweeping cost-cutting move
News Despite better than expected revenue in its Q2 results, the chip giant is targeting a leaner operation
-
 Average Brit hit by five data breaches since 2004
News While the number of breaches has fallen, the UK has been the worst-hit country in Northern Europe since 2004


-
 Arm acquires stake in Raspberry Pi in bid to drive IoT development
News The deal confirms a long-standing Raspberry Pi commitment to Arm chips
-
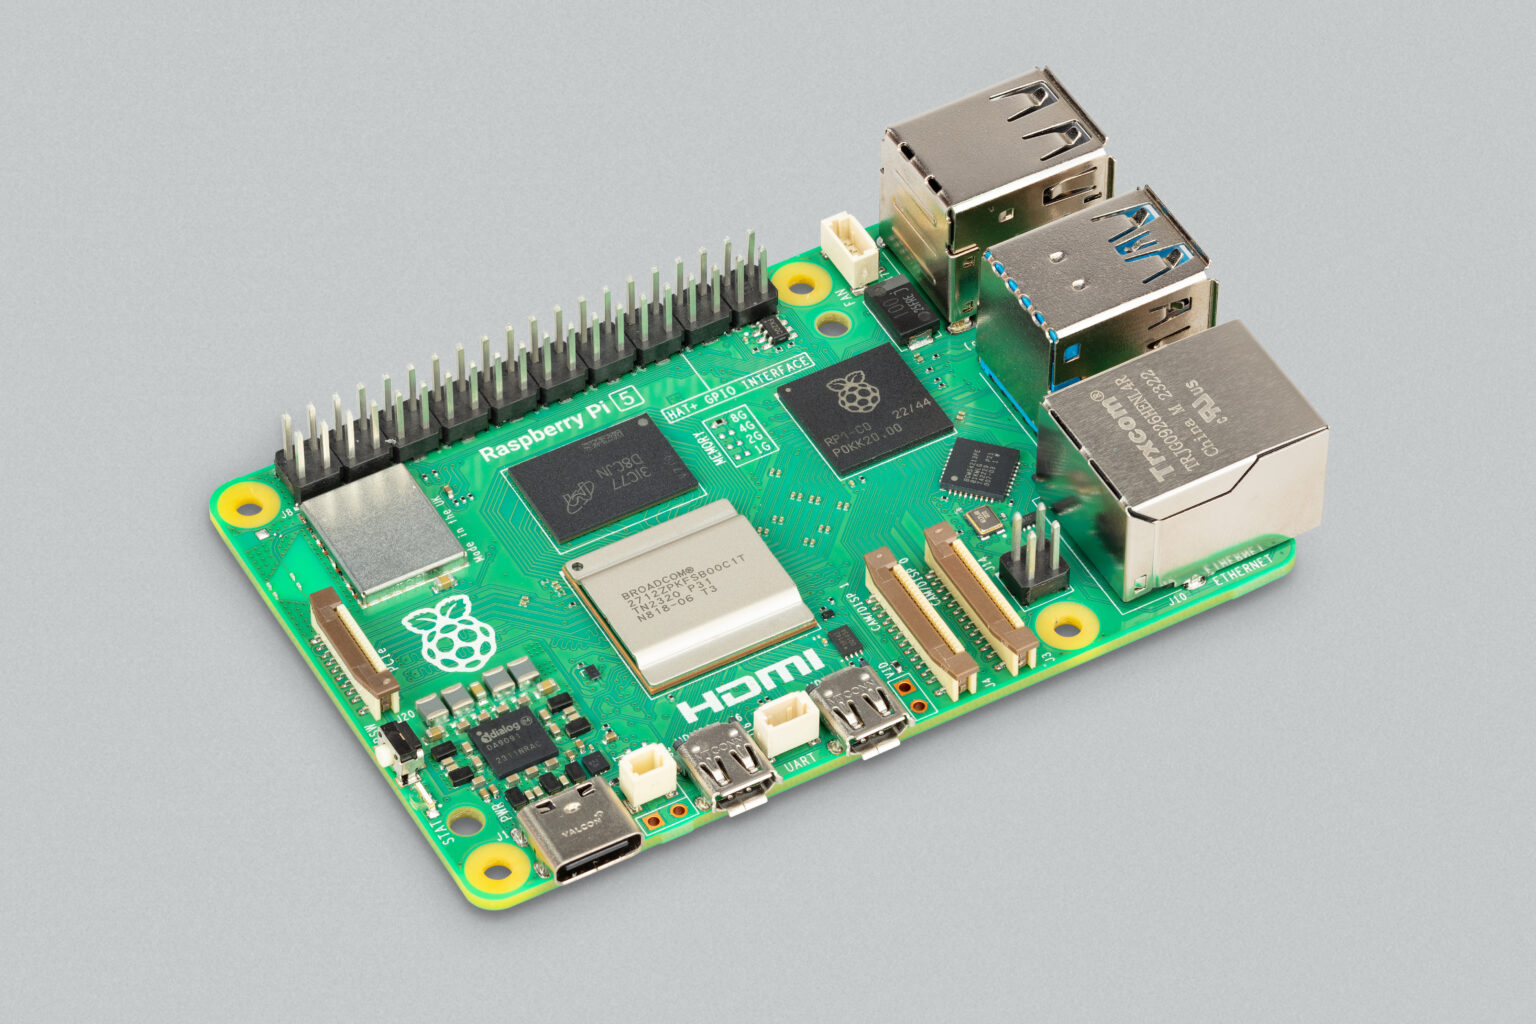 Raspberry Pi 5: New model is “2-3 times more powerful” than previous generation
News The new Raspberry Pi 5 will provide a “no-compromise user experience”, the firm said
-
Sony invests in Raspberry Pi to strengthen edge AI offering
News The move follows longstanding ties between the two firms
-
 Return of the Mac
In-depth Developer Jarosław Mazurkiewicz explains the creative process behind MacintoshPi and why he wanted to bring a classic Mac back to life
-
 Raspberry Pi ten years on: Breathing new life into retro machines
In-depth A full decade after the Raspberry Pi first hit shelves, the microcomputer is reviving older PCs and games consoles
-
 The IT Pro Podcast: Turning developers into craftspeople
IT Pro Podcast Making software is about much more than pushing code, explains Raspberry Pi founder Eben Upton
-
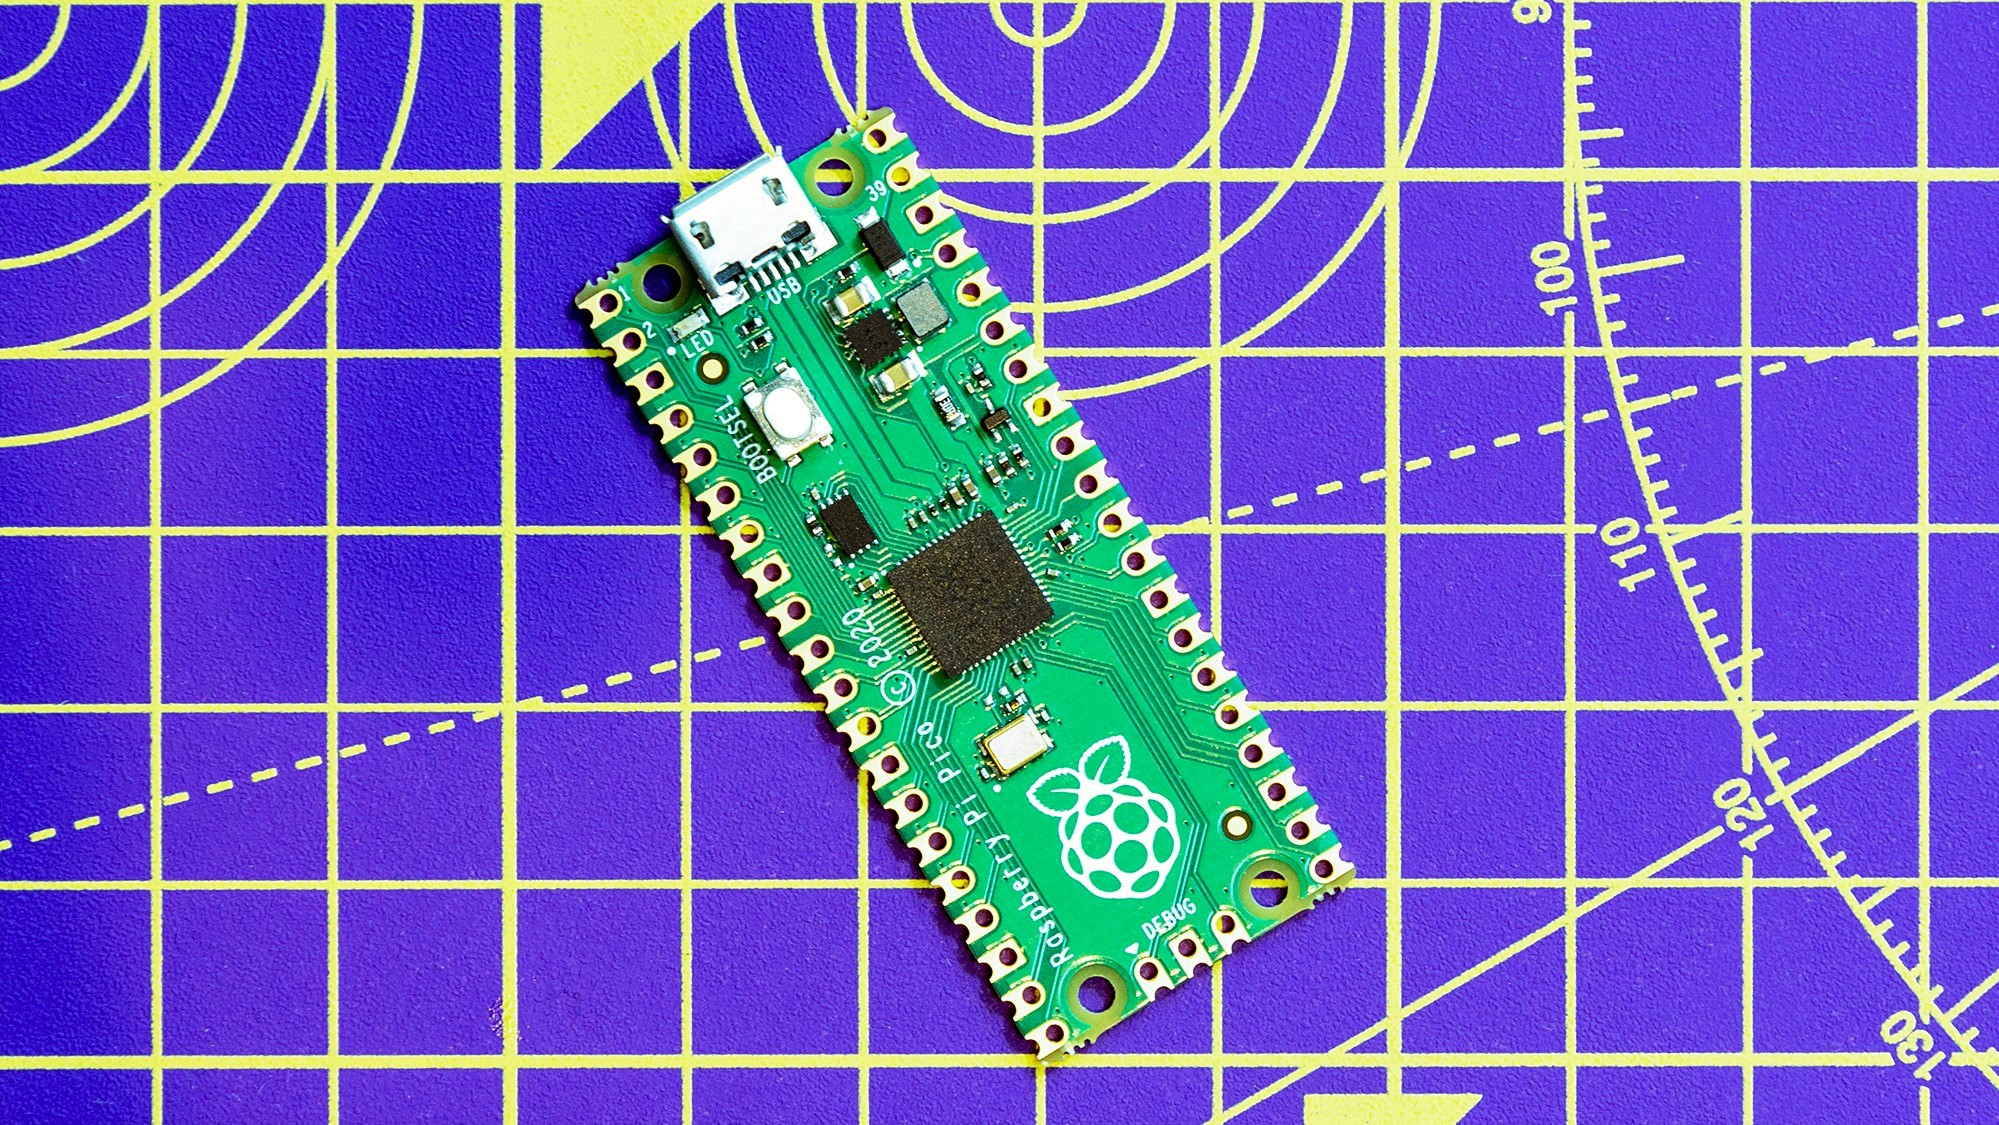 What is the Raspberry Pi Pico?
In-depth Introducing the latest $4 member of the family of single-board microcomputers
-
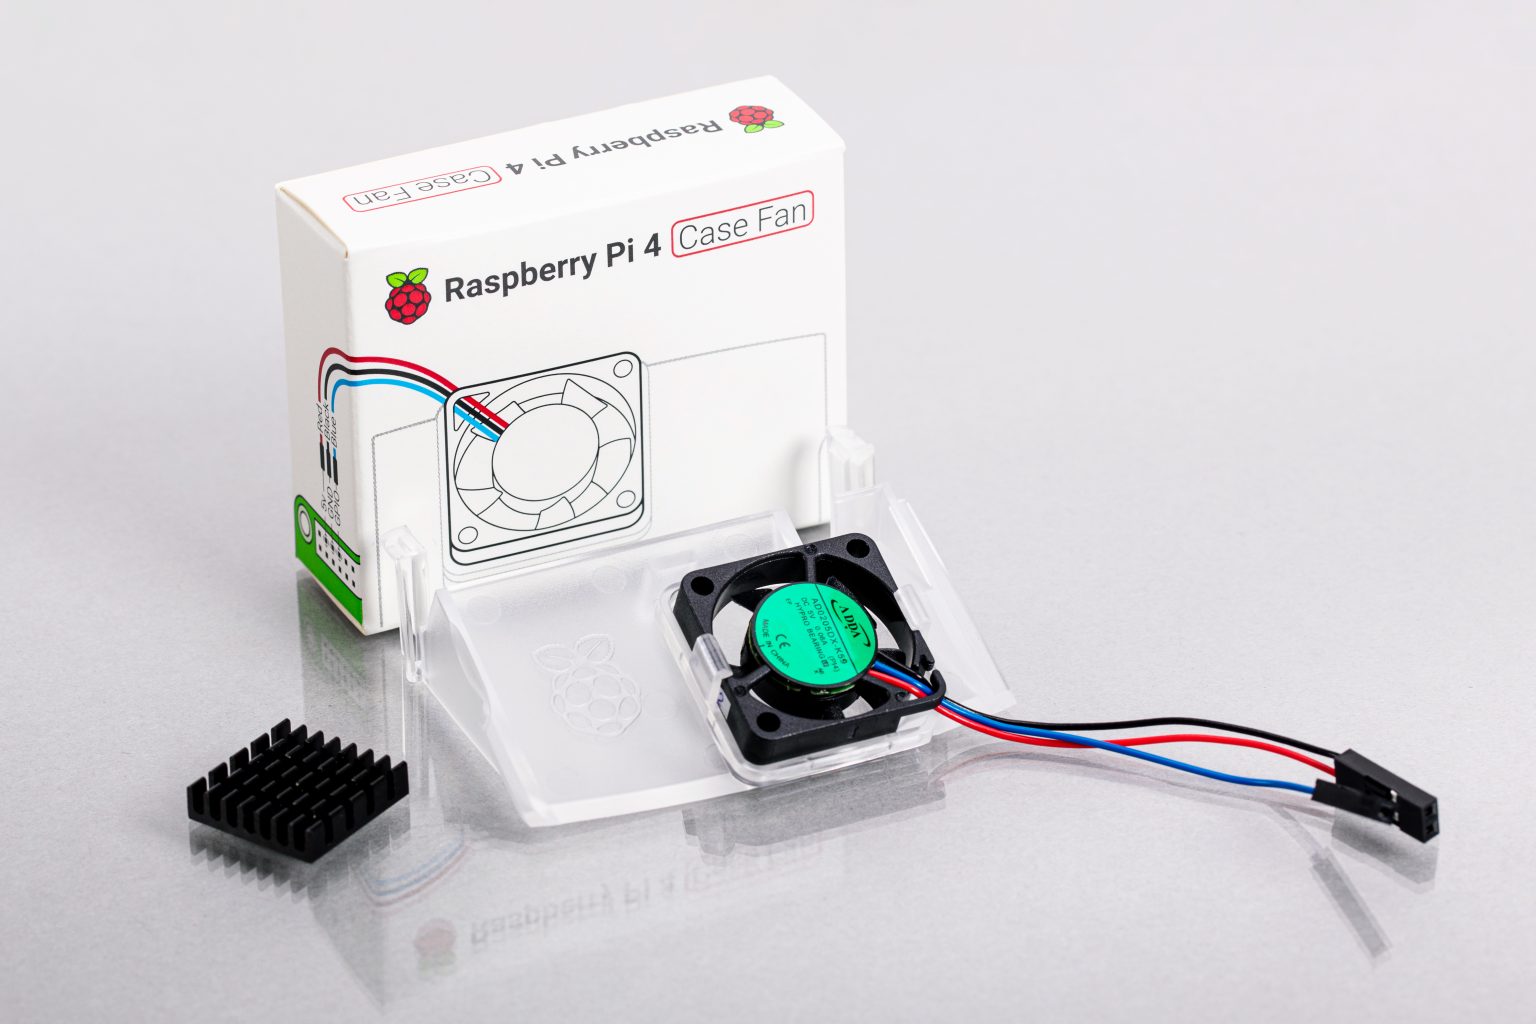 Raspberry Pi 4 gets an official case fan
News The £4.50 fan will prevent the board's ARM Cortex-A72 processor from overheating


