How do I fix the Windows 10 Start Menu if it's not working?
Some simple fixes for a Windows 10 Start menu that's not working correctly or frozen entirely
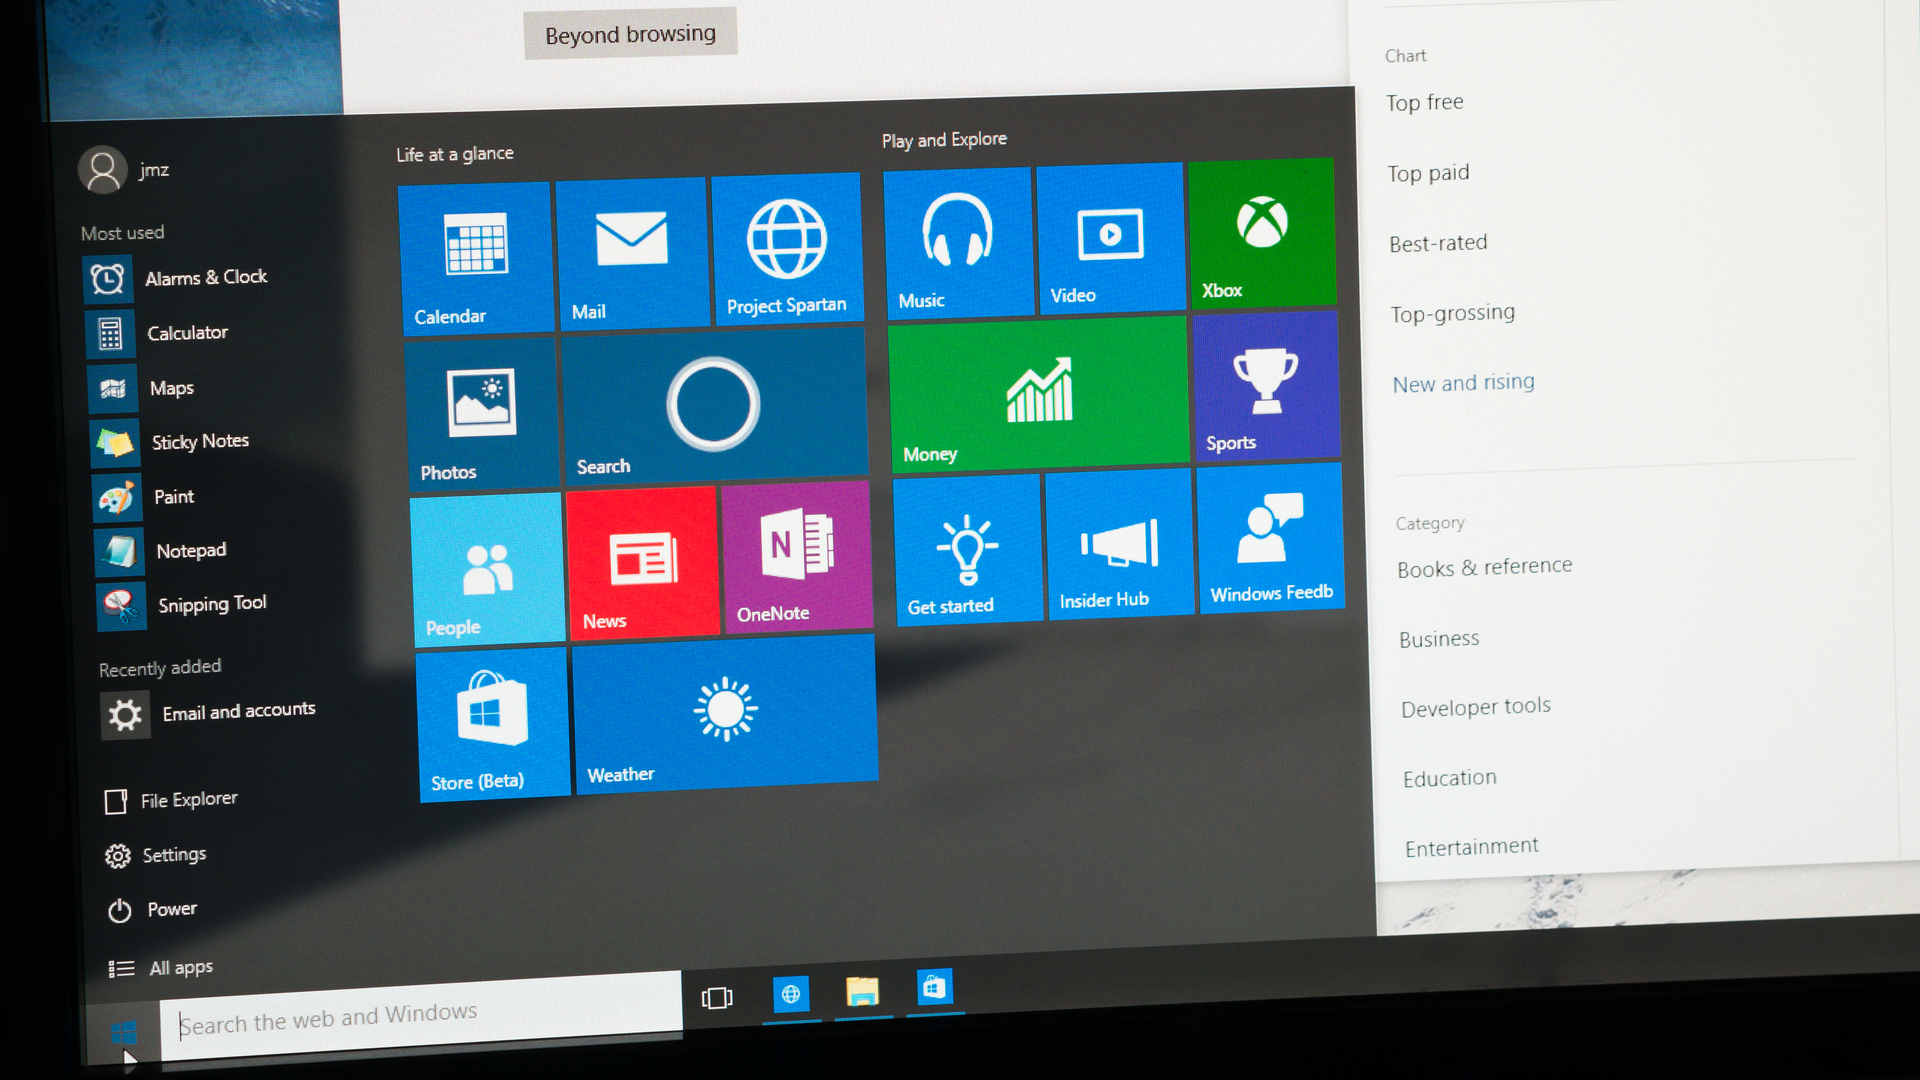
If you are still using Windows 10, despite the availability of Windows 11, you are not alone. Recent statistics show that most users still operate on Windows 10, making the issue of a non-functioning Start Menu a common problem for many.
Although the Windows 10 Start Menu is a crucial part of the operating system’s user interface (UI), it often malfunctions for various reasons, most of which are not severe. Typically, a simple bug can be resolved with a quick reboot. Sometimes, you don't even have to turn off the computer.
Nonetheless, it’s frustrating when the Start Menu vanishes or stops functioning, and you worry about losing your work or the numerous tabs open from extensive research. Fortunately, at least one of these five solutions will quickly get you back on track.
How to fix the Windows 10 Start Menu
1. Restart your computer
Restarting your computer can often be the simplest solution to fix issues. It clears up memory and removes temporary files that might be causing problems.
A restart also ensures that programs that have failed to close properly are shut down. These programs can otherwise occupy system resources in the background.
2. Restart Explorer
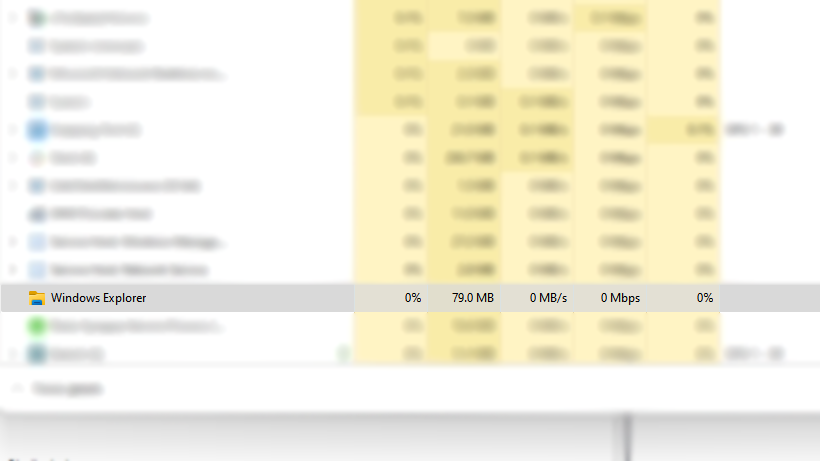
- Open Task Manager by pressing CTRL+SHIFT+ESC at the same time. When the User Account Control prompt appears, just click 'Yes'
- Then click 'More details' on the bottom right of the window to reveal several tabs across the top.
- Navigate to the 'Processes' tab and scroll down until you find the 'Windows Explorer' process
- Right click this and select 'Restart' from the menu.
This method is very effective and will resolve most issues with the Windows 10 Start Menu, although it might not address any underlying problems. Simply open Task Manager, terminate a specific Windows process, and restart Explorer.
3. Hunt down corrupt files
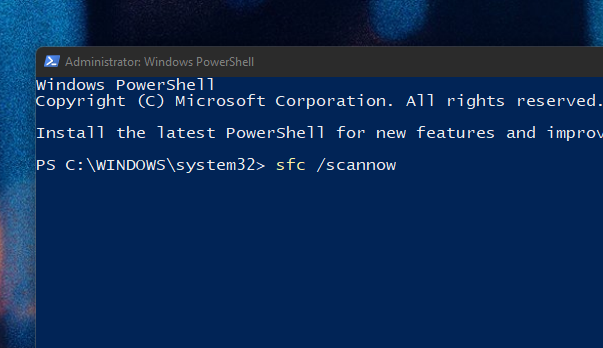
We'll use PowerShell to identify and address potentially corrupt files that may be interfering with the Start Menu.
- First of all, backup your system as a precaution and ensure your system is connected to the internet.
- Next, open up the Task Manager again (CTRL+SHIFT+ESC), click File, Run New Task, “Create this task with Administrator Privileges”, type “powershell”, and hit ENTER.
- In PowerShell, type "sfc /scannow" and let it run. Here we’re telling the machine to scan for any corrupt files and flag them to us.
Ideally, you'll now see a message saying “Windows Resource Protection found corrupt files but was unable to fix some (or all) of them”, which indicates it found errors during the scan.
If this appears, type the following command into the same PowerShell window: DISM /Online /Cleanup-Image /RestoreHealth.
This will instruct the system to find and replace any corrupted files with clean versions from online.
Sign up today and you will receive a free copy of our Future Focus 2025 report - the leading guidance on AI, cybersecurity and other IT challenges as per 700+ senior executives
4. Update your drivers
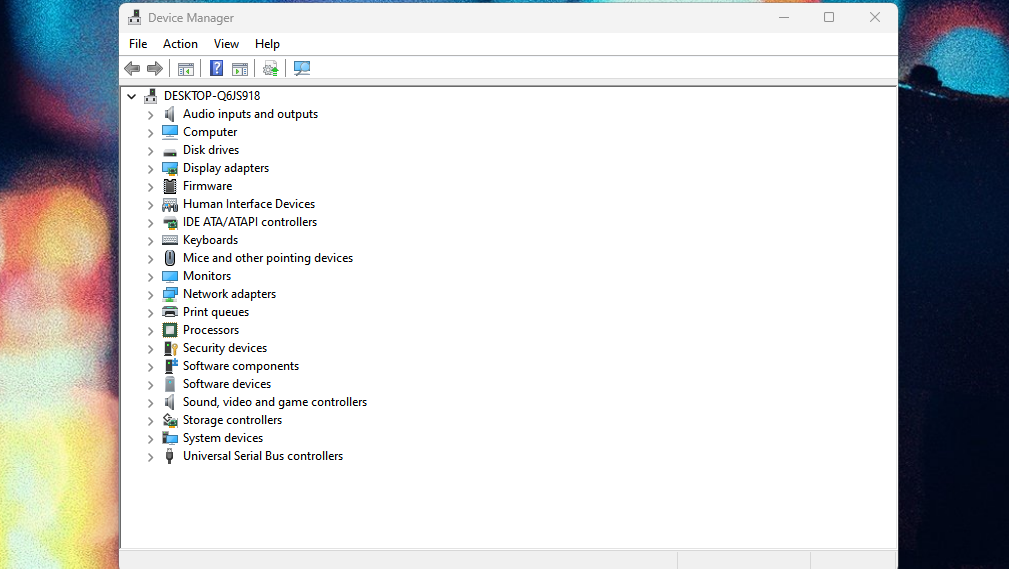
While Windows drivers are generally updated automatically through Windows Update, it’s worth checking for manual updates, including graphics or audio drivers.
Access the Device Manager window through Settings:
- Click the Windows button
- Type 'device manager' into the search bar and open the app that appears
- To open each device type, left click on the arrow next to its category name
- Right click each individual device and click 'Update Driver'
- Click 'Search automatically for drivers'
Check each entry for updates, particularly Display Adapters and Sound, video, and game controllers.
5. Rebuild the index
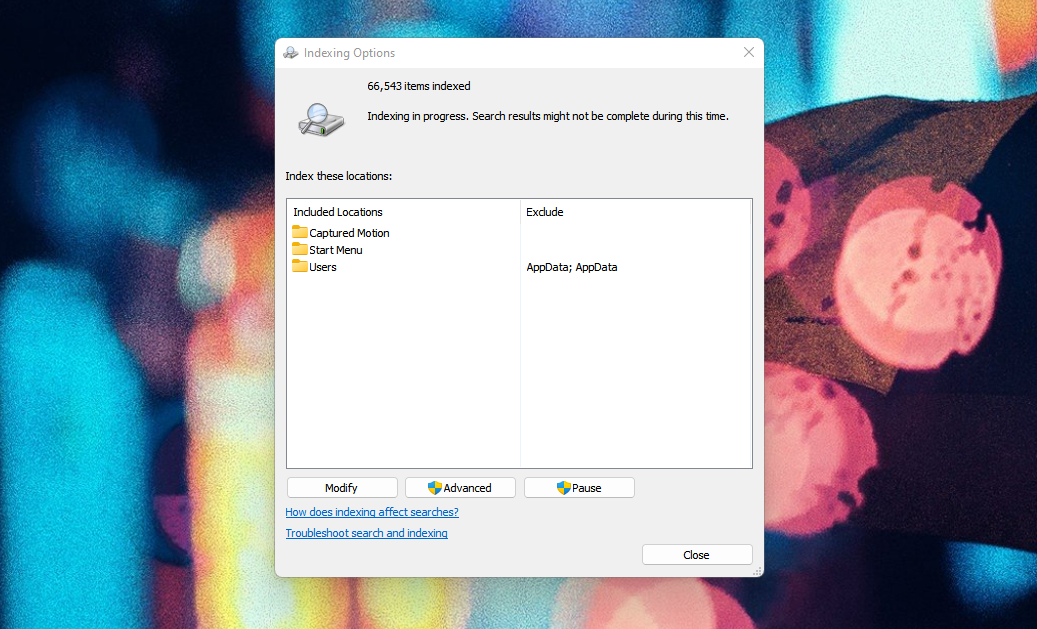
This fix requires less direct input than the PowerShell method, but it takes considerable time, as the warning will indicate.
- Click the Start Menu button, type 'Indexing Options' into the search bar, and open the app
- Click on ‘Modify’ in the bottom left of the Indexing Options window, then click the ‘Show all locations’ button. Untick all of the currently ticked boxes and click OK
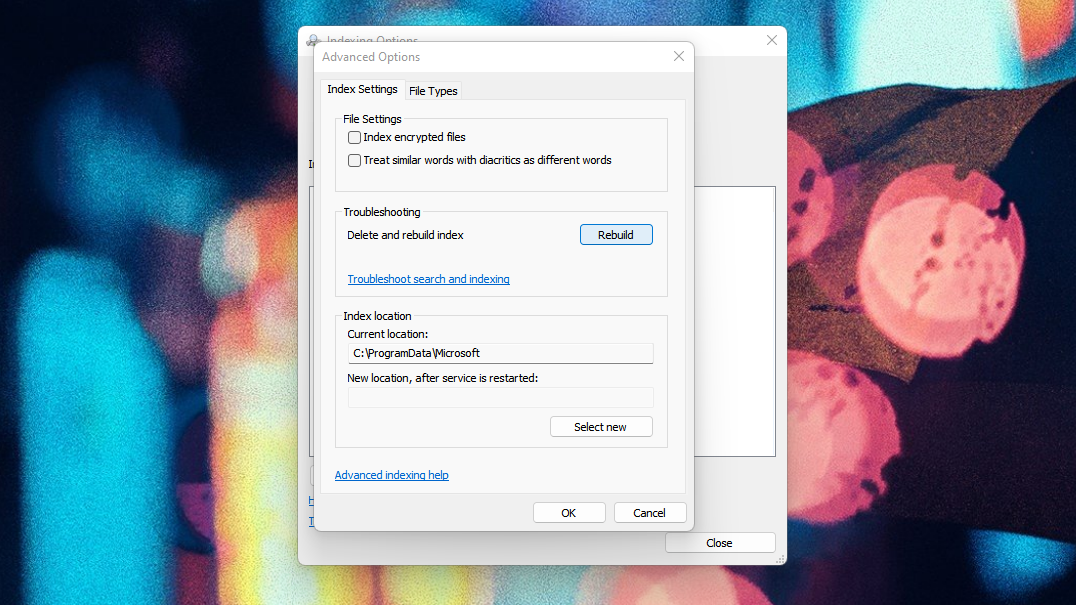
- Next, click on ‘Advanced’, go to the Troubleshooting section and click ‘Rebuild’. At this point, you will get a warning pop-up saying this could take a long time. Click OK
- Wait for the index rebuilding process to finish
- Once complete, reboot your machine
6. Create a new user account
Sometimes, the issue might be specific to your user profile. A corrupted user profile can cause a variety of problems, including a malfunctioning Start Menu. Creating a new user account can help determine if this is the case and potentially resolve the problem.
- How to Create a New User Account:
- Press the Windows key + I to open the Settings app.
- Click on "Accounts."
- In the left sidebar, click on "Family & other users."
- Under "Other users," click on "Add someone else to this PC."
- Follow the on-screen instructions to create a new user account. You'll need to provide a username and password. You can create a local account for testing purposes.
- Test the New Account:
- Once the account is created, log out of your current account and log in to the new account.
- Check if the Start Menu is working correctly in the new account.
- If the Start Menu Works in the New Account:
- This indicates that your original user profile is likely corrupted. You can either migrate your data to the new account and use it as your primary account, or you can try to repair your old user profile (though this is often more complex).
- If the Start Menu Still Doesn't Work:
- The problem is likely system-wide and not related to your user profile. This suggests a deeper issue with the operating system that might require more advanced troubleshooting or a clean install of Windows.
These steps should resolve most cases of a malfunctioning Windows 10 Start Menu, whether it's slow or completely frozen. A broken Start Menu is generally rare on Windows, whereas frequent occurrences suggest a broader operating system issue.
If you have tried each of these tips and the Windows 10 Start Menu is still not working, you may want to consider reinstalling Windows 10 completely. If you decide to do this, it's important you back up your files and take a note of your Windows 10 product key in case of any problems.
Dale Walker is a contributor specializing in cybersecurity, data protection, and IT regulations. He was the former managing editor at ITPro, as well as its sibling sites CloudPro and ChannelPro. He spent a number of years reporting for ITPro from numerous domestic and international events, including IBM, Red Hat, Google, and has been a regular reporter for Microsoft's various yearly showcases, including Ignite.
