Cel Robox 3D Printer review: Why it’s not ready for the masses
3D printing remains too expensive and problematic for mainstream use
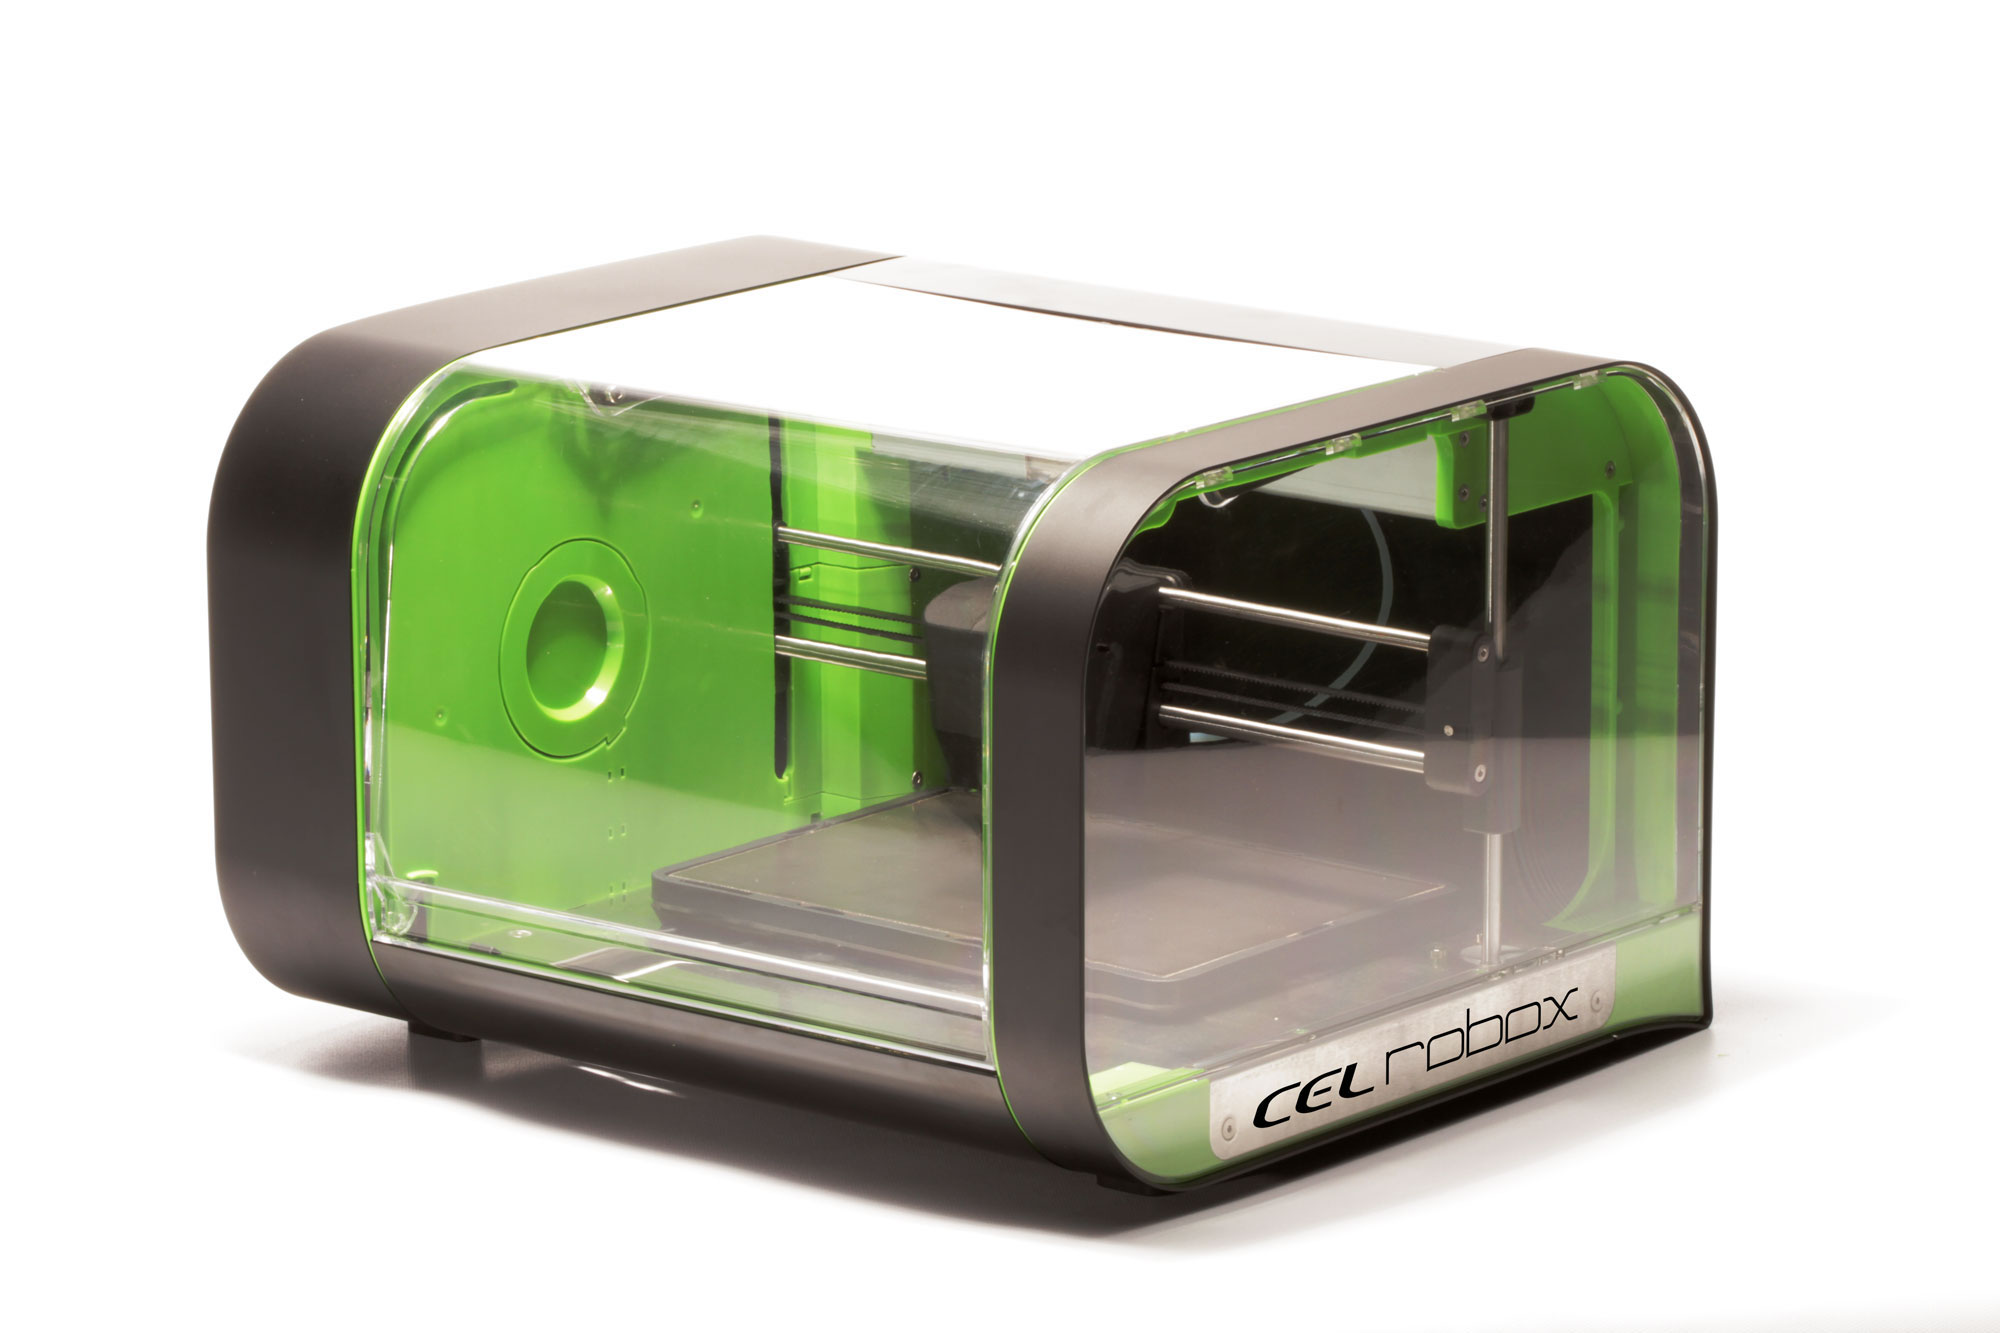
The Cel Robox remains too expensive and unpredictable to recommend investing in at this time.
-
+
3D printing that is reasonably fast; Multiple materials are supported
-
-
Error prone results; Unexpectedly fails mid-print; Expensive

The Cel Robox is a prime example of why 3D printing isn't ready for mainstream adoption. We can deal with some of the issues like the loud noise and the smell created by the heated plastic. However, the tendency to spectacularly fail mid-job is the biggest drawback, especially with a machine costing 850.
There is hope though. We liked the small form factor, easy setup, the ability to print with regular paper and reasonable printing speed.
Design
Out-of-the-box, the design is small and stylish. The 3D printer has similar dimensions to an inkjet unit (400 x 350 x 250mm).
The lid on the printer has multiple purposes. It aims to cut down noise but during testing we found the device was loud enough to wake up a child sleeping in the room next door.
The covering also help ensure temperature remains consistent so the plastic sets evenly and prevent users from touching the working inside (which can reach around 200 degrees Celsius).
Setting up
Sign up today and you will receive a free copy of our Future Focus 2025 report - the leading guidance on AI, cybersecurity and other IT challenges as per 700+ senior executives
As with a normal printer, setup requires you to power up the device and connect it to a Mac or Windows machine via USB. Linux users can also hook up the machine but will need to install proprietary Nvidia graphics drivers.
Installing a filament is as easy as clipping in an ink cartridge.
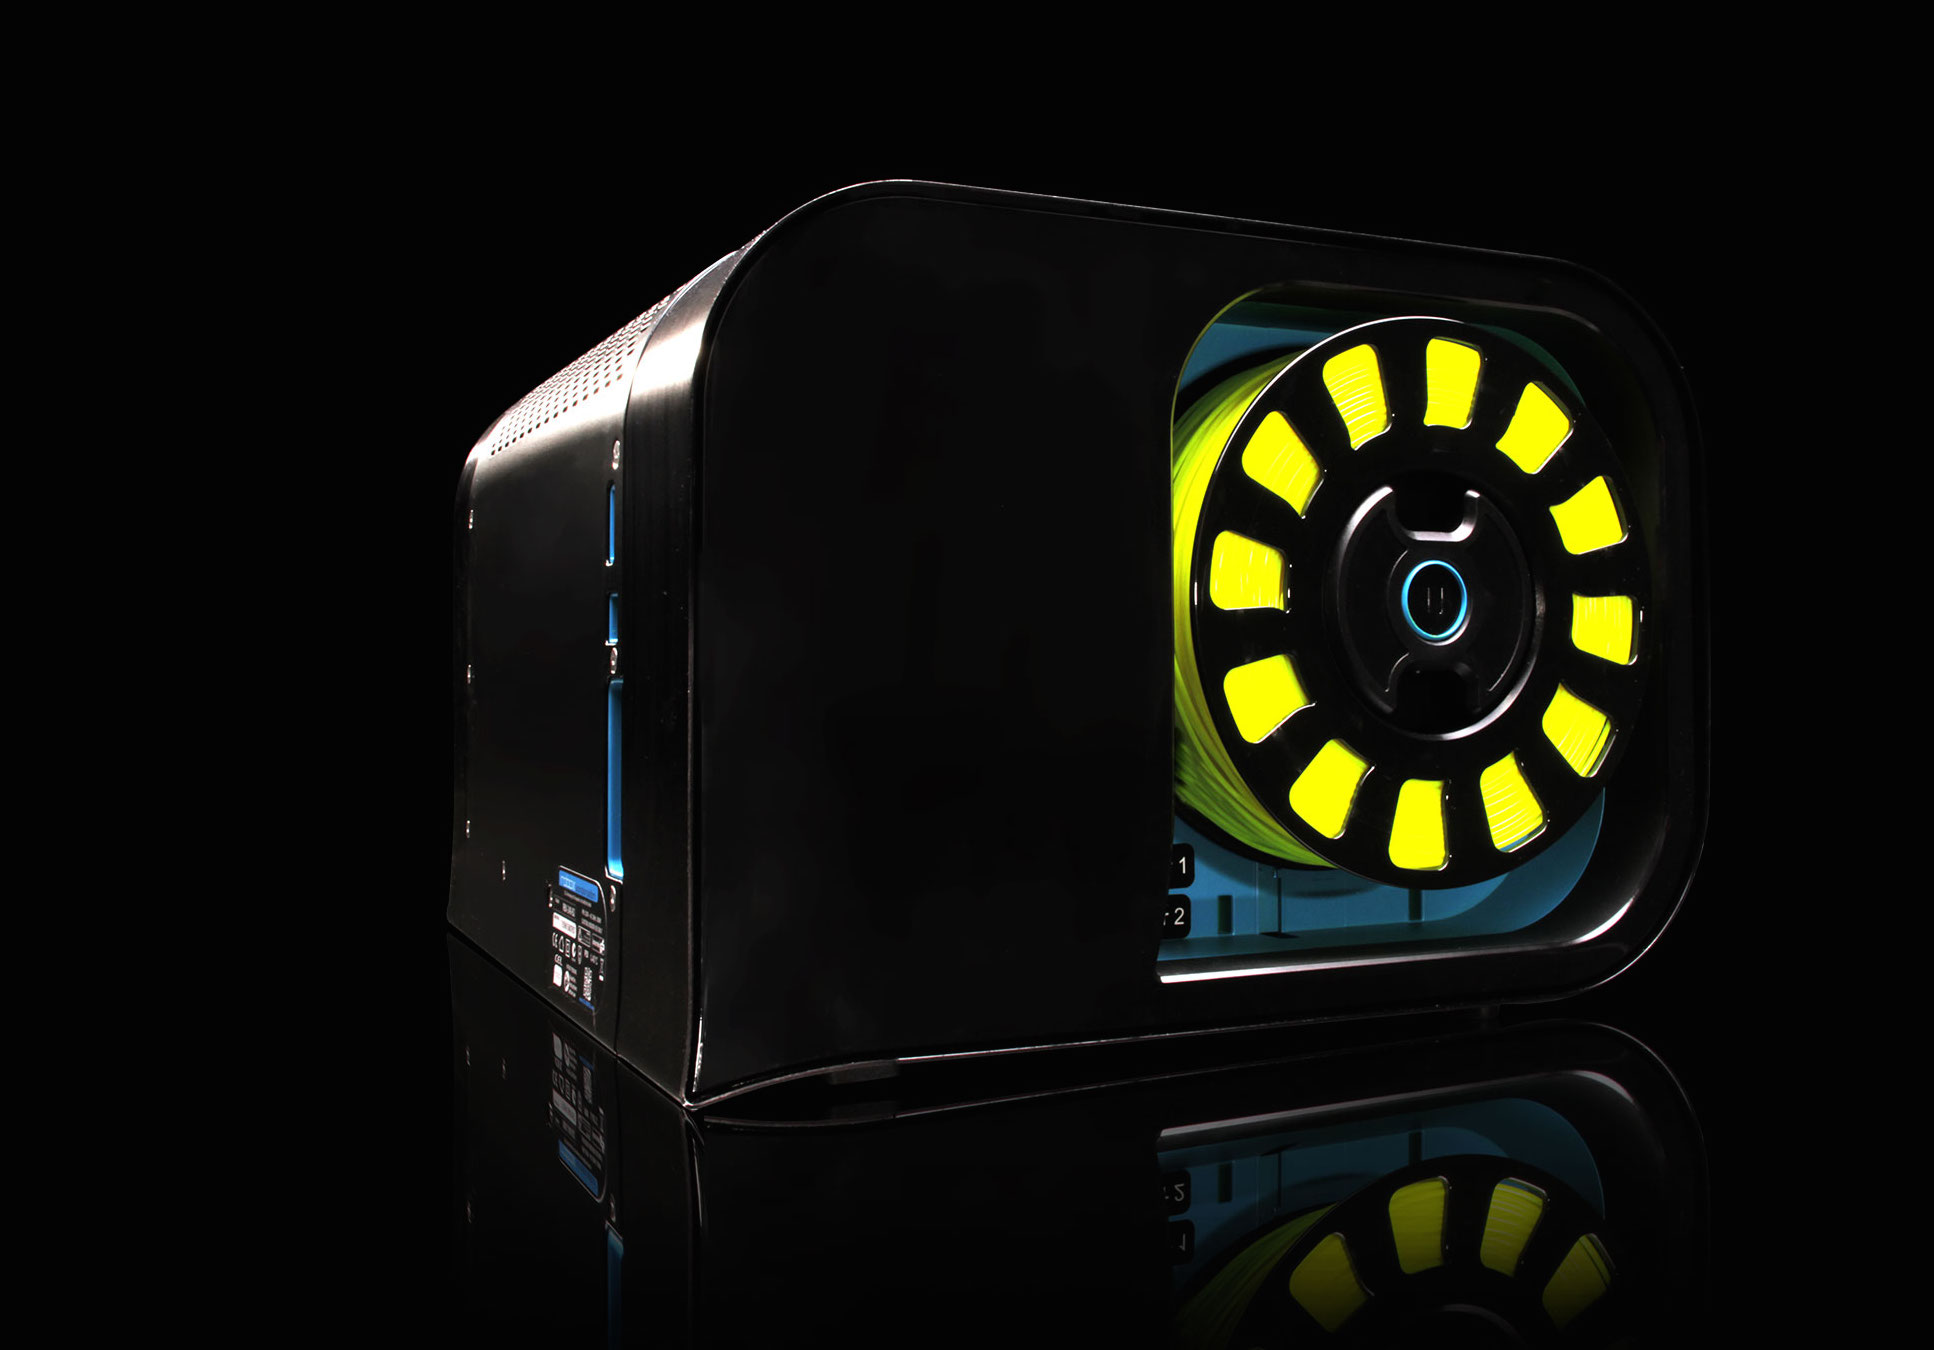
The device uses two nozzles to make a model, a small 0.3mm one is used for detailed work and a 0.8mm bit for filling out. Both nozzles have shut off valves.
Supported plastics include acrylonitrile butadiene styrene (ABS), polylactic acid (PLA) and nylon filament. Filament reels cost around 25 per 240m and these reels contain a chip that tells the device what type of plastic is in use. The machine will also allow third-party unchipped reels but you would then have to specify to the software what that plastic is in the software's settings. The benefit of using third-party reels is that you can print objects at a cheaper price.
Software
Automaker is the defacto piece of software used to print out objects. It's easy to install and provides you with many options to control how the machine works.
The software isn't the most intuitive, so you'll have to have a dig around the interface to get the most out of it.
Supported file formats include the Stereolithography (STL) and OBJ formats. Printing is straighforward. You click on the plus icon next to the Status tab above the image of the printer. This brings up an image of the printer bed; the left hand side changes windows from Status to Layout.
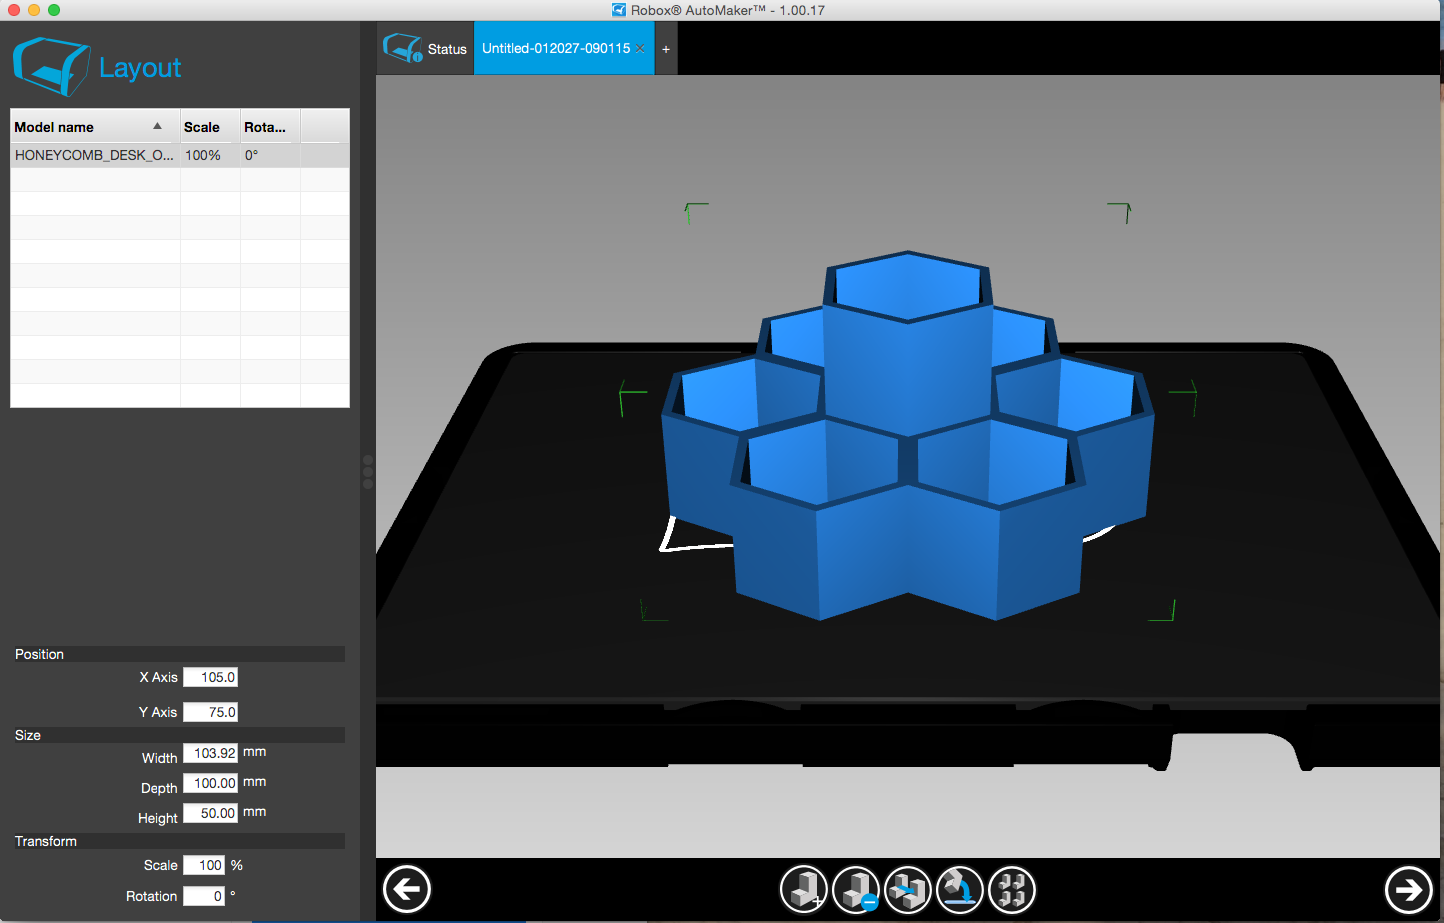
Then it is a case of dragging an object file onto the right-hand side of the screen where an image of the object appears. There are left and right arrows below the object image. The left takes you back to the progress screen while the right arrow takes you to a rotating view of the object. While this rotates the model so you can see it from most angles, it doesn't allow the user to interact with this, so you can rotate the model as you see fit to view it.
Printing out
While the device looks and feels like a solid piece of kit, the results from printing were mixed. The reference designs such as the mug below, managed to print reasonably well.
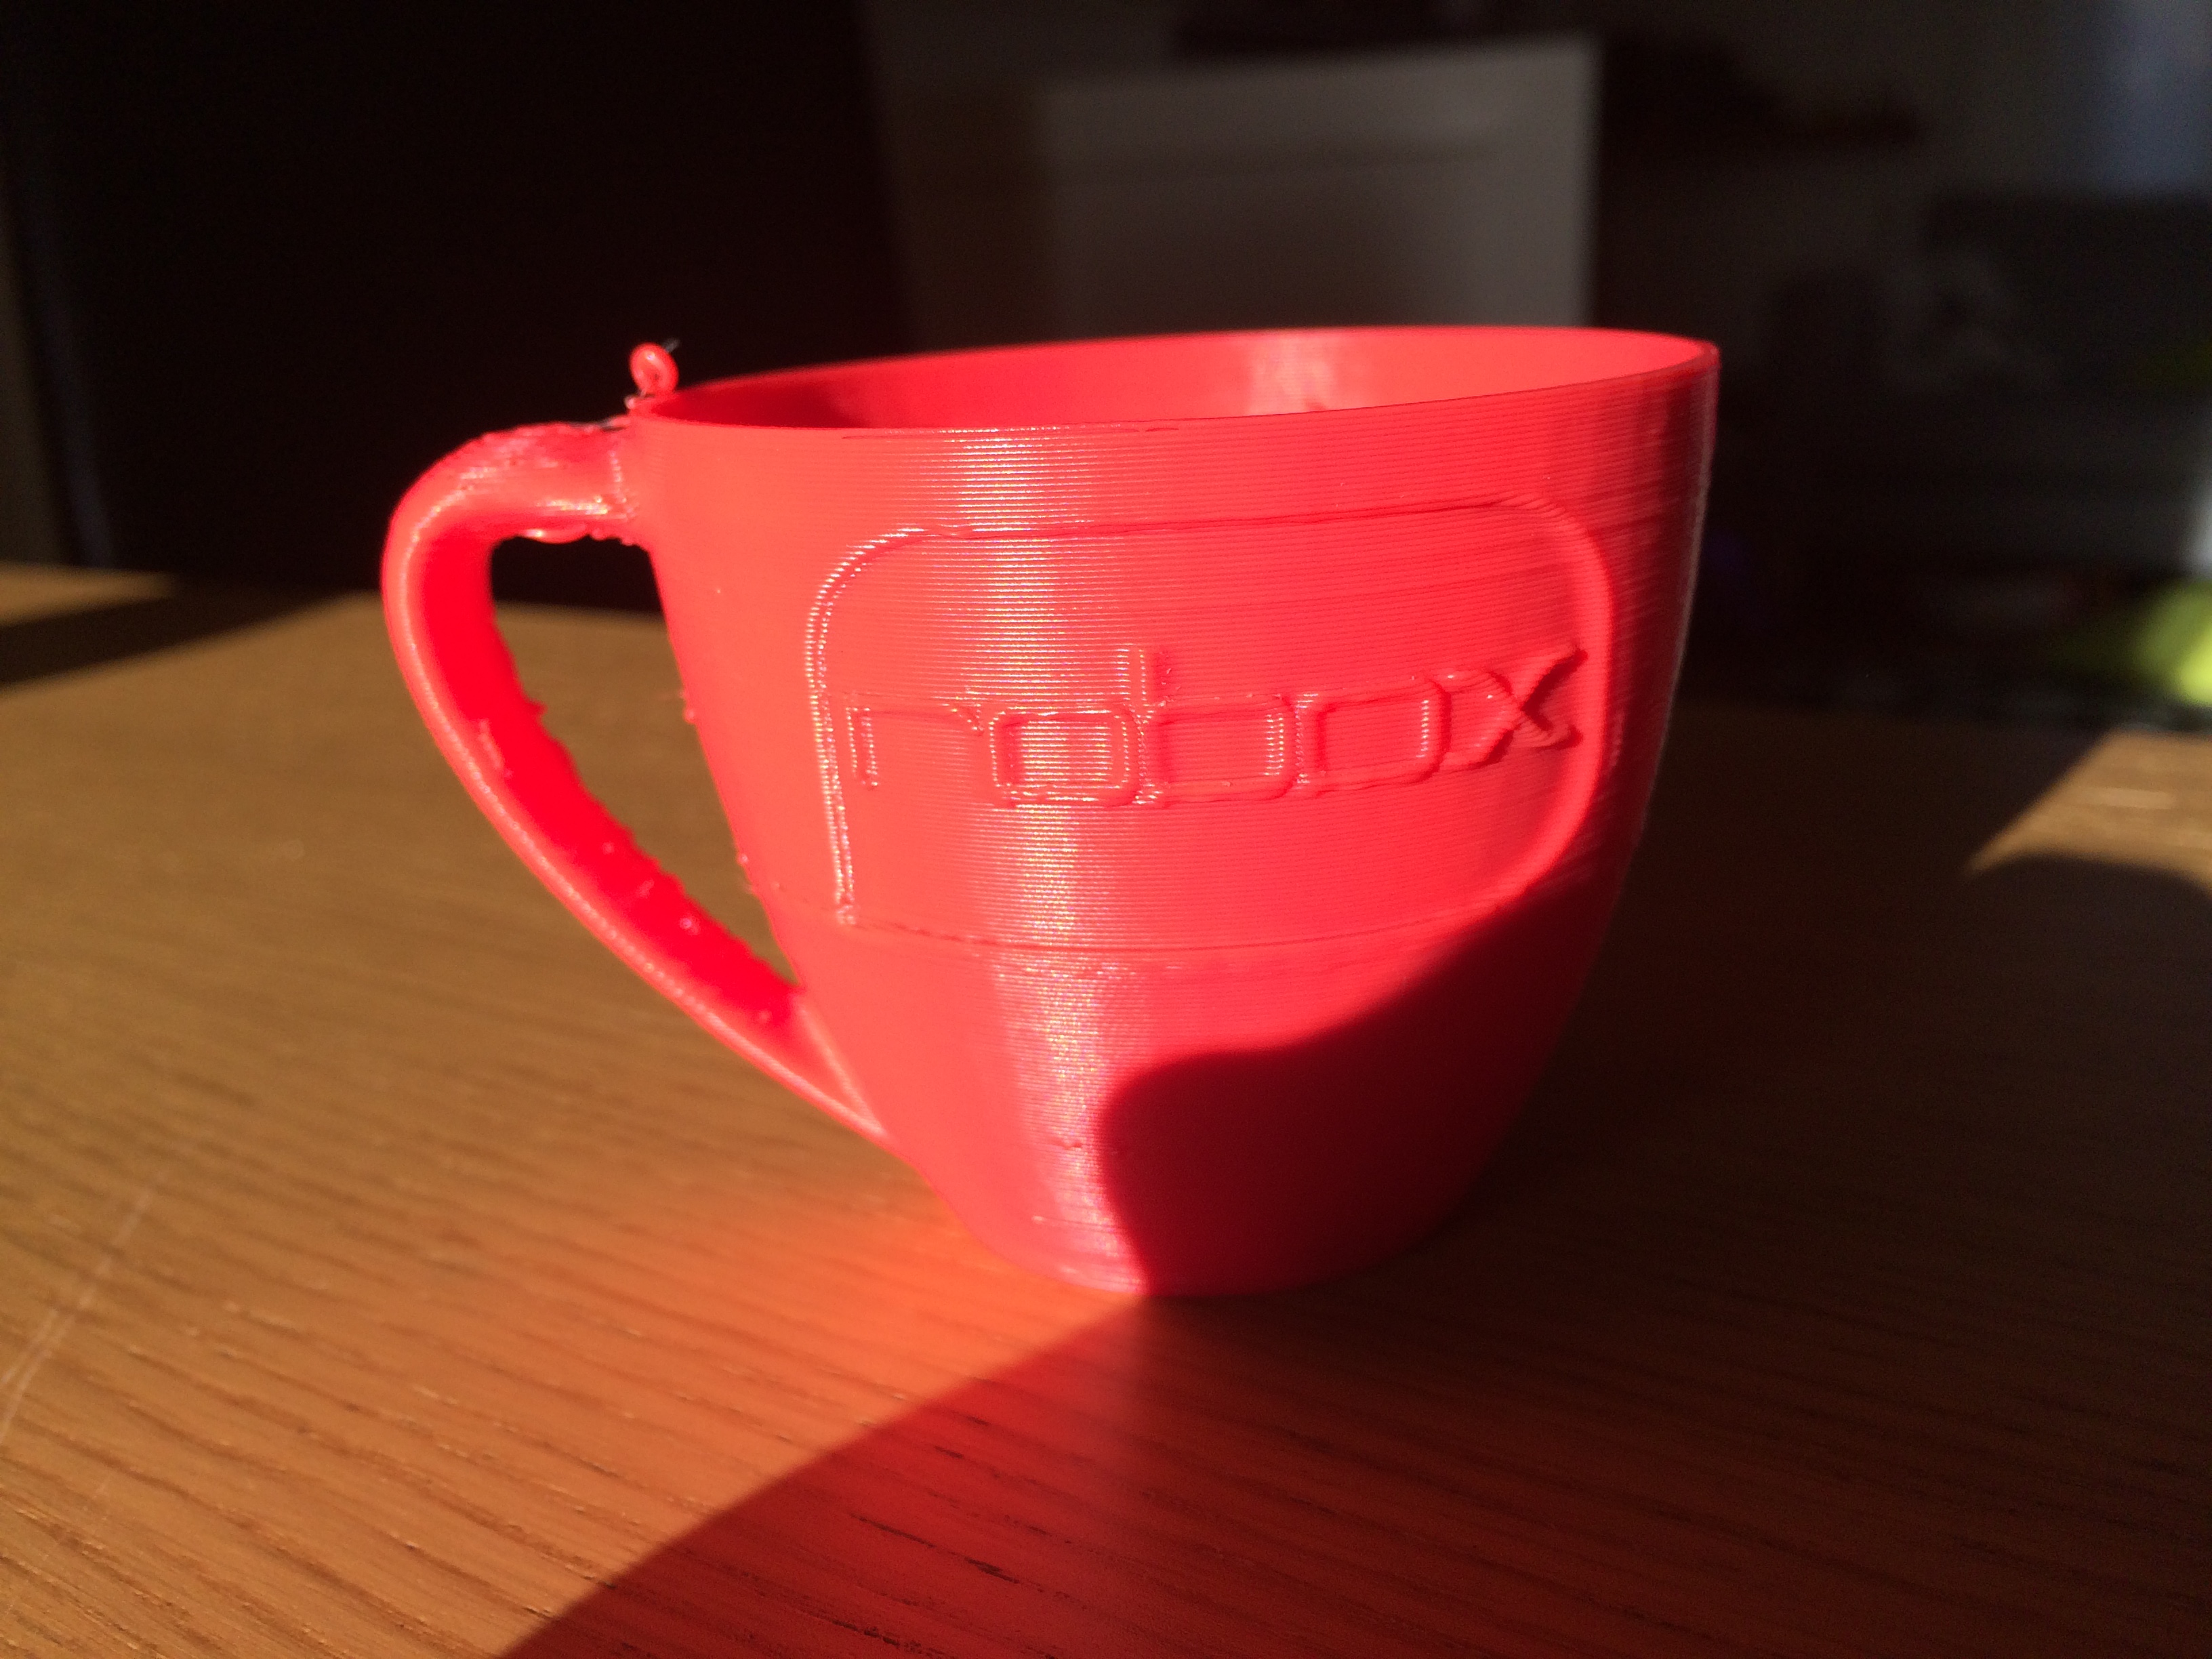
However, we had issues with more complex custom designs. The main problem here is with ABS material. The material can behave oddly and didn't always adhere to the printer bed, causing the print job to fail.
We tried to print a model of a Dalmatian dog and the device had so many problems setting in the correct place, the nozzle ended up clogged. So instead of this....
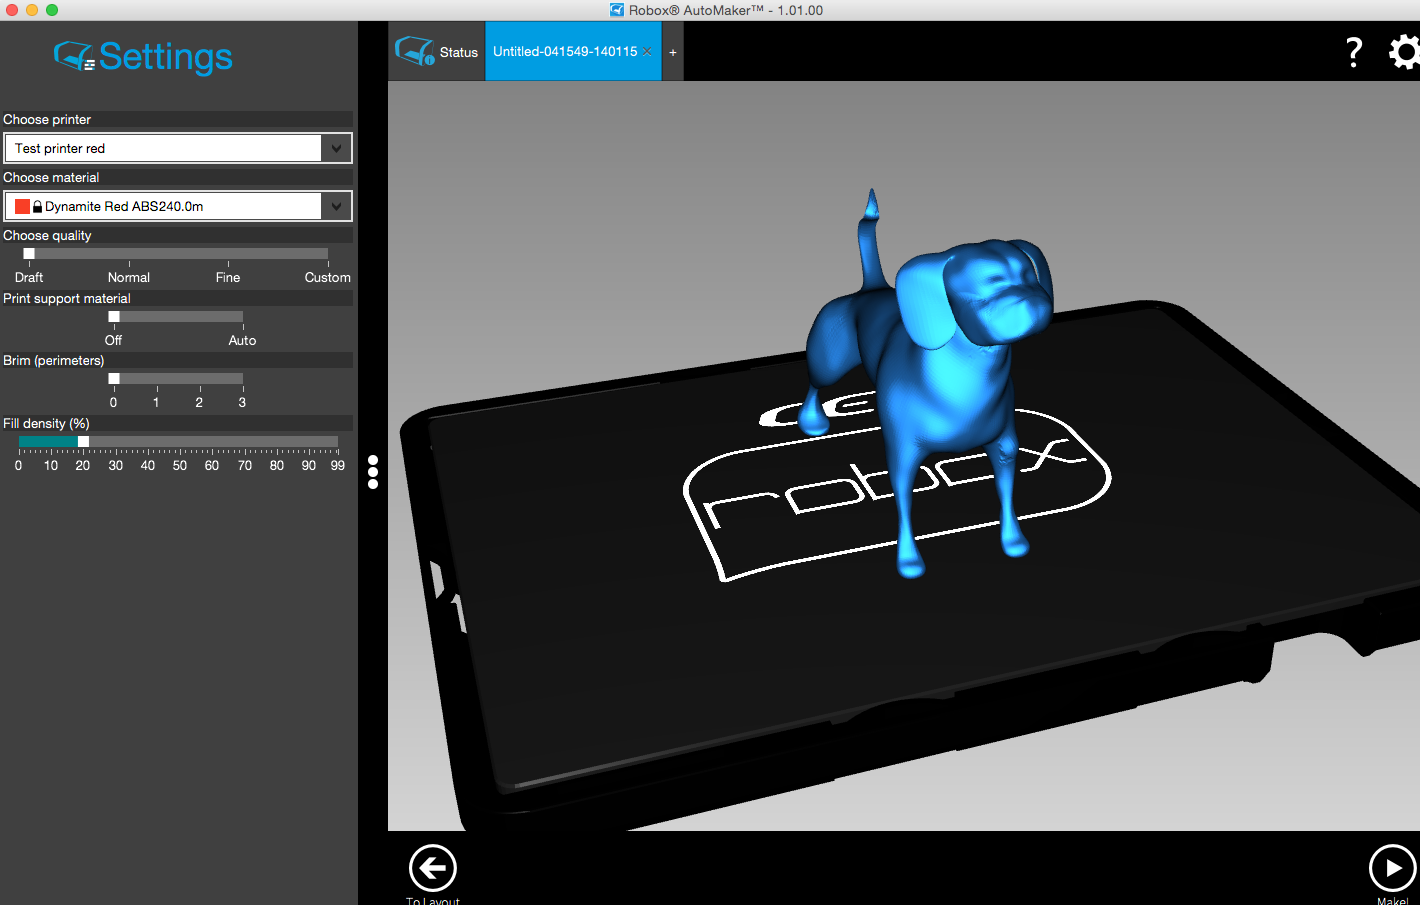
After attacking the clogged nozzles with a large pair of scissors, re-inserting the filament, running the "purge material" option from Automaker a few times as well as the "eject stuck material" option, the printer started working again.
It's important to point out that if the filament is not inserted properly for whatever reason, the software will not notice and will "print" nothing onto the surface.
On trying to print out a few custom models we did notice that the printer sometimes missed out printing whole sections without reason. This is most likely a bug in the software responsible for printing the layers.
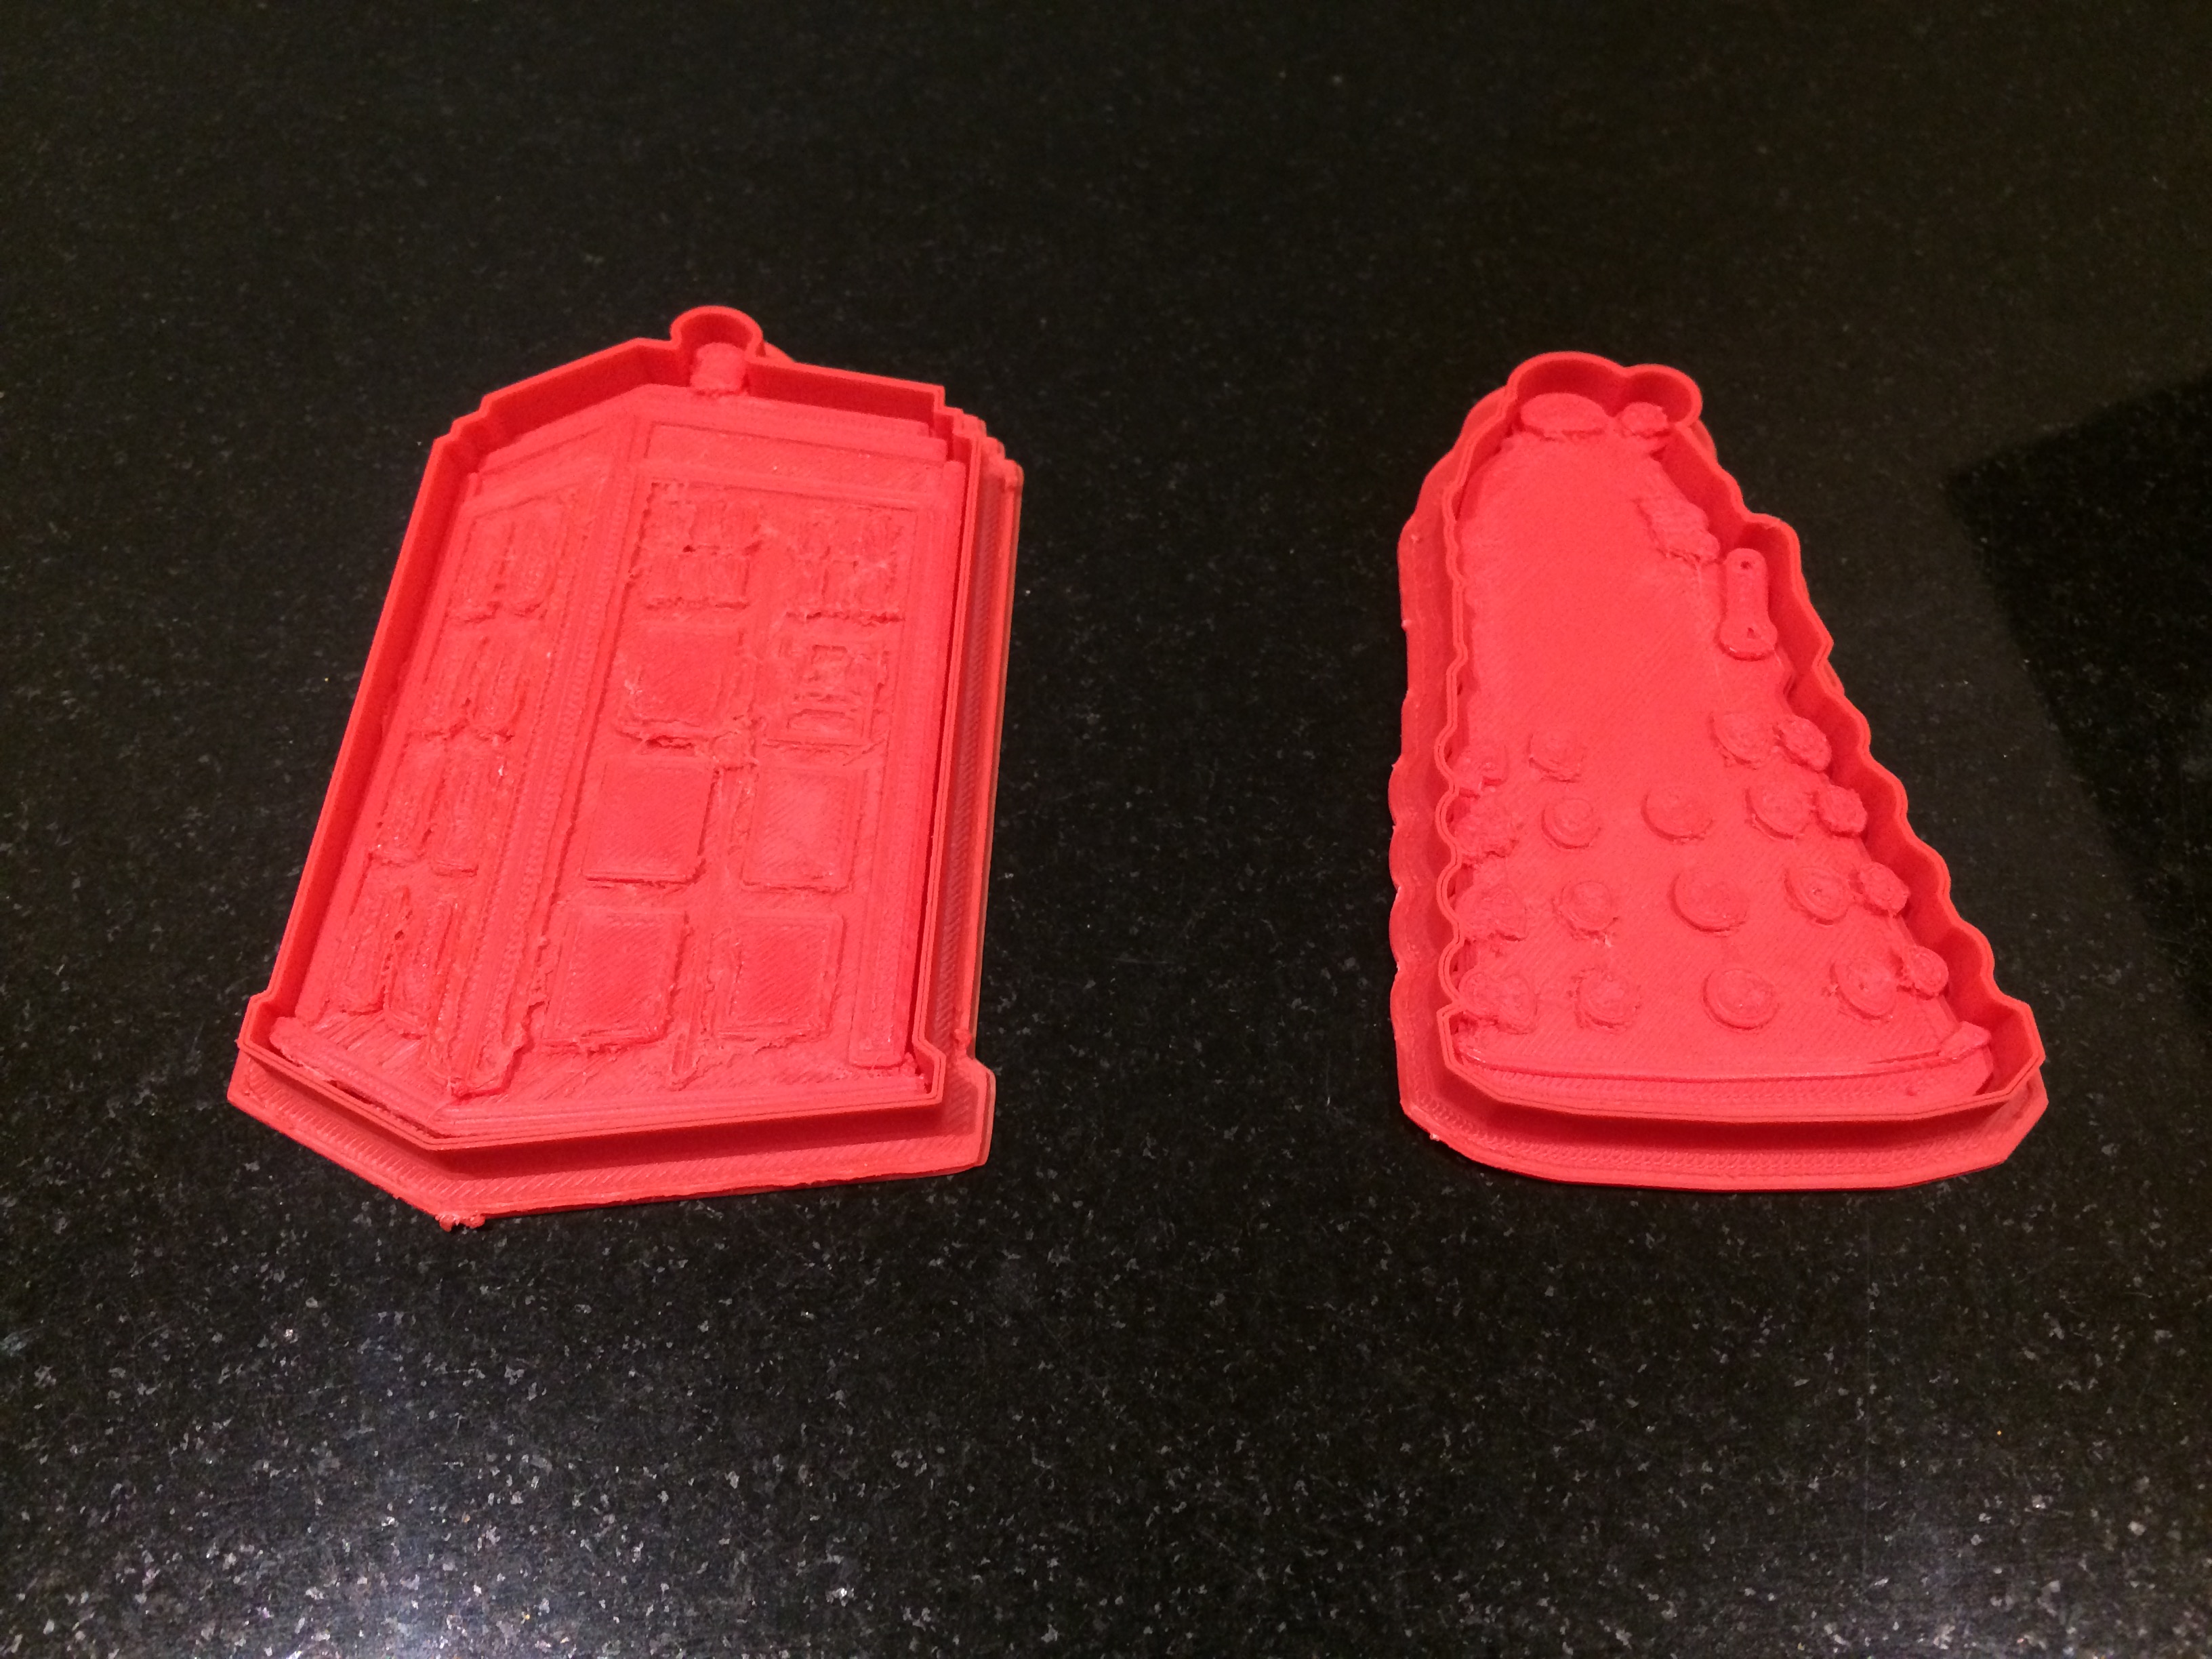
Printing speeds were reasonable. It took 60 minutes to print each of the cookie cutters above using the dual nozzles. However, the results weren't ideal.
Overall
We can't recommend a piece of kit costing 850 when the performance is so patchy.
At this time it's limited to enthusiasts who are capable of putting up with foibles and tinkering with the devices.
This article was originally published on the 15/1/15 and updated on the 16/1/15 with an image of a printed reference design.
Verdict
The Cel Robox remains too expensive and unpredictable to recommend investing in at this time.
Rene Millman is a freelance writer and broadcaster who covers cybersecurity, AI, IoT, and the cloud. He also works as a contributing analyst at GigaOm and has previously worked as an analyst for Gartner covering the infrastructure market. He has made numerous television appearances to give his views and expertise on technology trends and companies that affect and shape our lives. You can follow Rene Millman on Twitter.
-
 Snowflake and OpenAI are teaming up to help enterprises capitalize on their "most valuable asset"
News OpenAI models and tools will now be embedded within the Snowflake Intelligence and Cortex platforms
By Ross Kelly Published
-
 What security teams need to know about the NSA's new zero trust guidelines
News The new guidelines aim to move an organization from discovery to target-level implementation of zero trust practices
By Emma Woollacott Published
-
 Amazon’s rumored OpenAI investment points to a “lack of confidence” in Nova model range
News The hyperscaler is among a number of firms targeting investment in the company
By Ross Kelly Published
