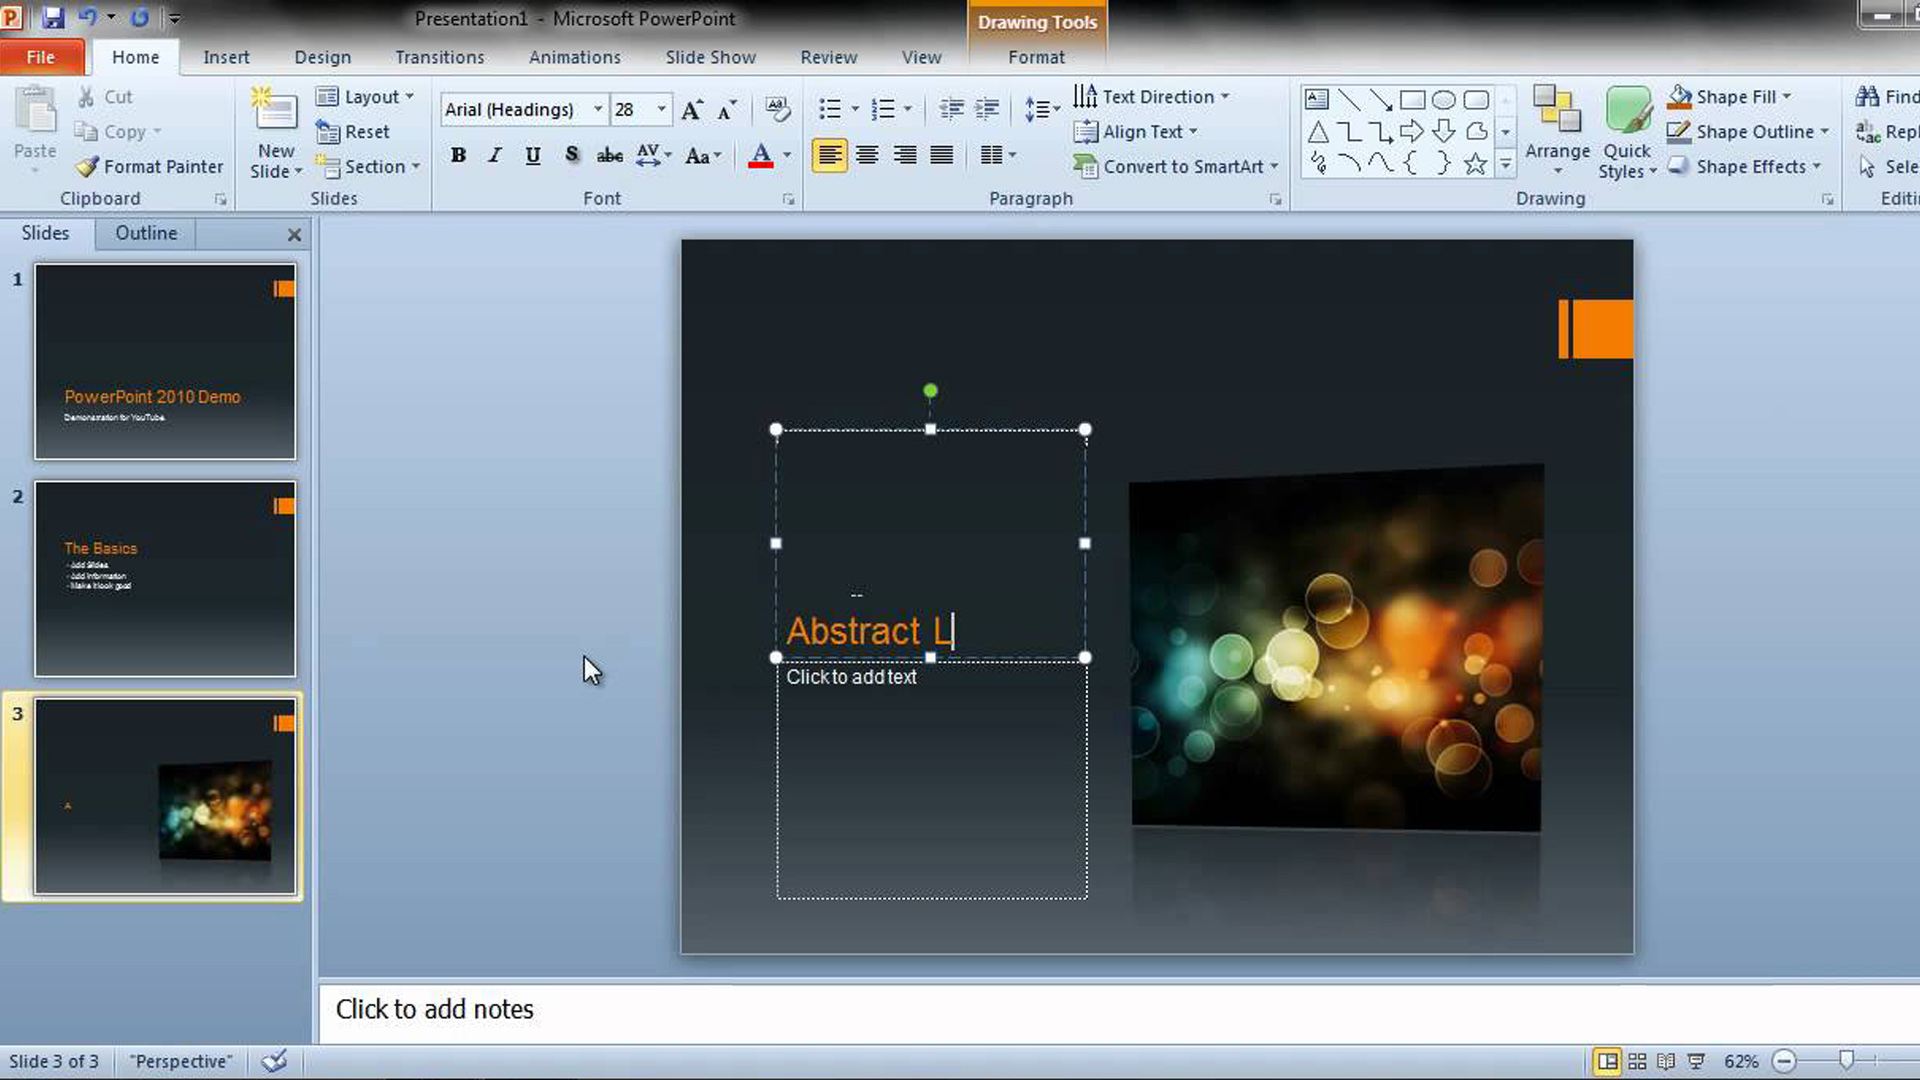
According to Wikipedia, the phrase, "A picture is worth a thousand words," expresses the idea that a complex concept can be easily understood using just a single image. It also aptly characterises one of the main goals of visualisation, namely making it possible to absorb large amounts of data quickly.
With this in mind, one often wonders why many presentations have little or no appropriate pictures. One common reason is that the creation and editing of pictures is a challenge for many, especially those not naturally gifted in creating artwork or specifically skilled in dedicated drawing/photo-editing software.
This article provides an overview of the PowerPoint 2010 Photo/Picture manipulation tools, that can speed up the process of creating appropriate pictures, to help emphasise your presentation.
Where are the tools?

By default, the PowerPoint 2010 Picture Tools ribbon is not visible and will only appear when you insert a picture or double click on a picture that is already embedded within PowerPoint.
Once the Picture Tools Ribbon appears, there are several useful tools that you can use to quickly enhance your presentations. The tools we give a brief overview of are; Remove Background, Corrections, Artistic Effects, Picture Styles, and Cropping
PowerPoint photo manipulation tools
The Remove Background tool is useful for separating a foreground object in a picture from the background, providing there is a reasonable amount of difference between the object and the background. In other words, the Remove Background tool is useful when you have several objects in a picture or photograph and your presentation needs to focus on one specific object. This tool will help you quickly eliminate all other objects apart from the one object that you want your audience to look at.
Corrections is a tool that has two purposes:
Sign up today and you will receive a free copy of our Future Focus 2025 report - the leading guidance on AI, cybersecurity and other IT challenges as per 700+ senior executives
- Corrections enables you to adjust the brightness and contrast of an image, which is helpful when your photograph or picture is too dark or too bright to be seen properly.
- Corrections enables you to adjust the sharpness and softness of a picture - helpful if, for example, you have want to sharpen the blurry text in a screenshot to make it more readable to your audience. Increasing the sharpness is also useful if your photographs appear a little smudged or some of the details have been lost due to bad lighting. Conversely, the Soften setting is useful for portrait shots, where you want to make the subject's skin look smoother.
The Artistic Effects tool provides a basic collection of filters to change your image. These filters are useful if you are trying to make your pictures more interesting - some examples of this use include; transposing a colour photograph to a black and white look and transforming the photograph to look more like a drawing or painting.
Tip: You can apply only one artistic effect at a time to a picture, so applying a different artistic effect will remove the previously applied artistic effect.
Picture styles
Along with the different tools covered in this article, PowerPoint also has a range of customisable effects at its disposal which range from glows, 3D treatments, reflections, and much more. These effects can be found in the Picture Styles group of commands where you can experiment with Picture Effects, Picture Layout and Picture Borders.
Customised effects
PowerPoint also lets you create your own customised versions of many of the effects discussed in this article by using the Picture Styles dialog launcher (it's the tiny grey arrow on the right corner of the Picture Styles group). When you click on the Picture Styles dialog launcher, the Format Picture dialog box will appear with adjustable settings that enable you to experiment with different combinations of corrections, 3D picture glows, borders and other photo manipulation options.
More than just another cropping tool
The most widely used tool, common to all graphics applications, is the crop tool. The crop tool is used for snipping out parts of a picture or photograph that you don't want.
However, PowerPoint's crop tool has an additional feature that goes beyond simply cutting to a rectangular shape or square - it now enables you to crop to specific shapes such as block arrows and star shapes.
The Photo Manipulation tools are particularly useful to help when trying to create eye-catching presentations for a slide show. Whether you're presenting to a general audience, your lecturer or your boss, it's important to ensure the pictures on the slides complement your presentation rather than hinder it.
When it comes to media and content, Ben has over three decades of experience in the type of content that can help companies attract business and strengthen their brand. Over the course of his career, Ben has been the editor for 11 paid for paper-based magazines, websites, and has had his own radio and television show. Ben’s career has spanned over many industries including technology, security, dance, business, finance, learning and education. In addition, Ben has written software manuals and training materials for companies such as Microsoft, IBM and Thomson Technologies. Ben is an international speaker having spoken in over 60 different countries, giving public and private workshops in the areas of property, business, dance, security, and technology. His site www.itproportal.com was sold in 2016 to Future Publishing – the UK’s largest business and tech publisher. Over three decades, Ben has attracted several million pounds worth of business through his own business and personal branding.
-
 The modern workplace: Standardizing collaboration for the enterprise IT leader
How Barco ClickShare Hub is redefining the meeting room
-
 Interim CISA chief uploaded sensitive documents to a public version of ChatGPT
News The incident at CISA raises yet more concerns about the rise of ‘shadow AI’ and data protection risks
-
 IDC: The business value of IBM Maximo
Whitepaper Integral to the transformation of asset management
-
 Employee ‘task crafting' could be the key to getting the most out of AI
News Tweaking roles to make the most of AI makes you more engaged at work
-
 ‘Always on’ culture is harming productivity, so workers are demanding ‘digital silence’ to get on with tasks
News Tired of relentless notifications, emails, and messages? You're not alone. Workers across a range of industries are calling for 'digital silence' periods to boost productivity.
-
 The race is on for higher ed to adapt: Equity in hyflex learning
WHITEPAPER Fulfil student and faculty needs
-
 Practical ergonomics guide for education
WHITEPAPER Save energy, focus, and promote overall well-being
-
 How to manage – and mitigate – performative working
Feature An increasing number of people are putting on a show of working, rather than actually getting on with it
-
 The ultimate guide to 3D
Whitepaper Creative boost breaks
-
 Developing an end-to-end process for virtual photography
Whitepaper Sharing the best practice of creating production-quality photographs with software

