

If you love Raspberry Pi then it’s time to check out the company's latest microcontroller board you can get your hands on.
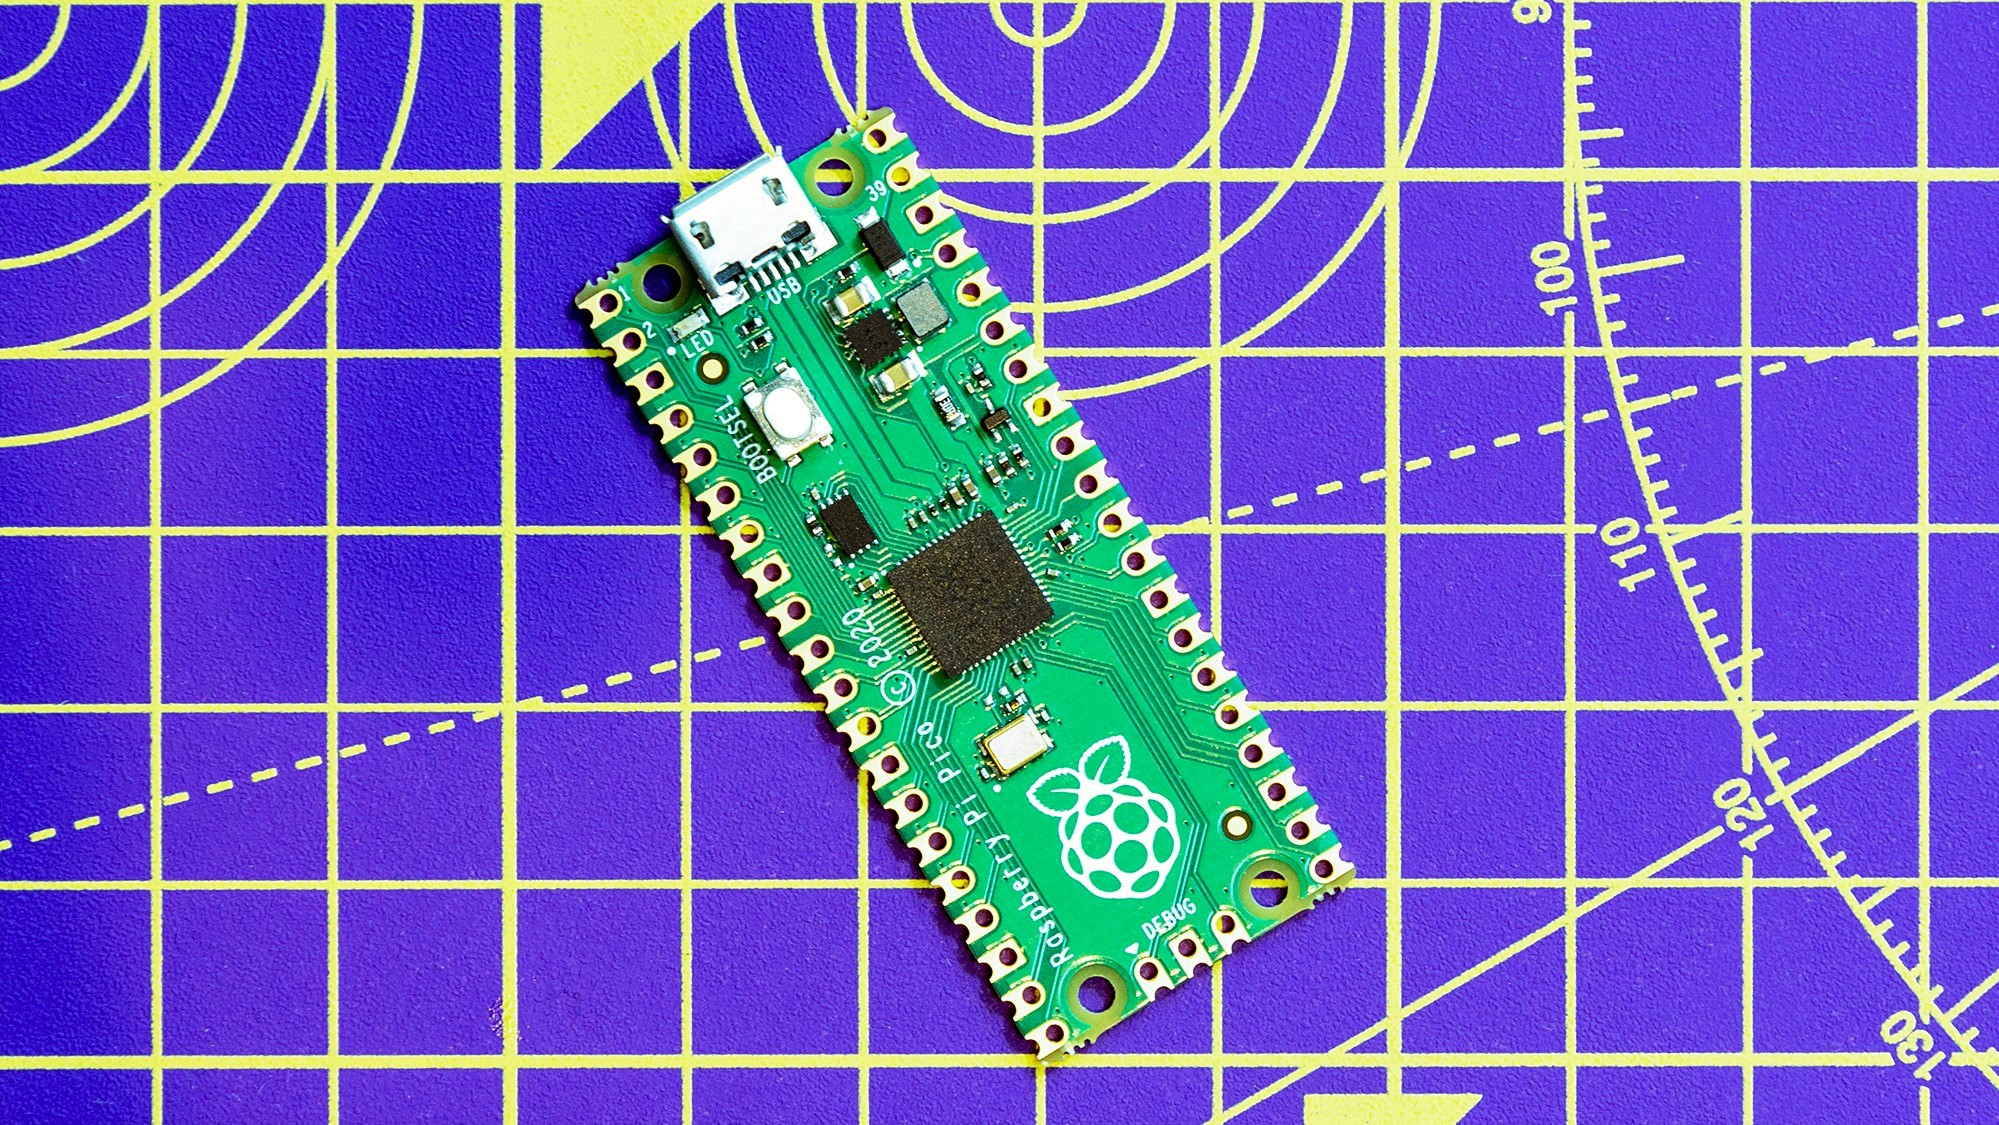
The Raspberry Pi Pico is tiny, fast, and built using the RP2040, a new microcontroller chip designed here in the UK by the company.
It doesn’t matter if you’re a beginner or an expert, get ready to create new and interesting projects with this technology in your hands.
To help you out, and get your creative juices going, here are some examples of projects you can get started on using the Raspberry Pi Pico.
Monitor the weather
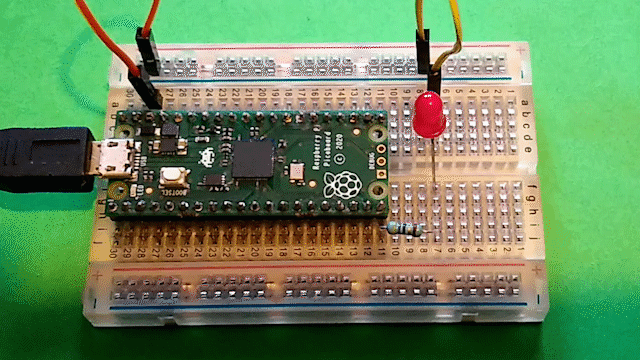
Appreciate how precisely you can measure the temperature and humidity with your Raspberry Pi Pico by making your own weather station.
This could be a cool project to impress your friends and family with and you’ll no longer have to rely on analogue methods of measuring the temperature with this digital superiority.
For this, you’ll need a Raspberry Pi Pico, a DHT11 sensor module, a 16x2 LCD module, some jumper wires and a breadboard.
For the full instructions, see how Nikunj Panchal put this handy little device together and start measuring the temperature in your home today.
Detect intruders
If for some reason you need to identify intruders, then look no further.
Arm Software Developers have put together a low powered intruder detection system that recognises familiar faces. If an intruder walks past, then the system scans them and sends a notification to your phone.
The developers use a Raspberry Pi 4 connected to a Pico board and a camera as well as a motion sensor. When an intruder walks in front of the sensor, the Raspberry Pi boots up and runs a script that looks for human faces. If it doesn’t recognise the face present, a notification is sent to the phone through IFTTT.
DIY Macro Keyboard
Looking for a Macro keyboard? Why not make one?
These keyboards help you to map certain actions you carry out on a computer to one key. This helps you avoid performing repetitive actions and can help boost productivity. You can use them in gaming, help control whether you’re muted or not, control the volume and much more. Many streamers use them as a stream deck to help them access certain actions quickly.
This super useful guide from Novaspirit Tech will help you create your own Macro Keyboard and the possibilities are endless.
Improve your photography skills
Avid photographers in search of a new project will find this one very interesting. This photography turntable can be used to spin light objects, unless you upgrade the motor, and can help photographers immensely.
Will Lawson made a photography turntable with his Raspberry Pi Pico along with some 3D printed parts. The electrical parts needed are a breadboard, male to socket jumper wires, socket to socket jumper wires, an Arduino power module, a stepper motor, a motor driver board, a micro USB cable and a 9V battery.
Check out the full video for the instructions and you’ll have your very own homemade turntable in no time.
Fake terminal
"Old school" and "retro" often seem to be slapped across anything that's more than ten years old. This is particularly true for technology because it advances and ages so rapidly. But it is also due to our own experiences and the things from yesteryear that we still cling to as we grow up. This is the case with Dan Aldred's fake terminal project, built with the Raspberry Pi.
The 'Ferminal' (Fake-terminal) was created with recycled components from a retro video player project and features a small 12C OLED display fitted inside an Argus PreViewer slide shell. It also uses the Raspberry Pi 4, which has a keyboard attached via USB and was coded with Python 3.
What you get is a classic black display with an image-free, text-based interface; it's pure uncut tech nostalgia. Each line has a character limit and, admittedly, the project is more proof of concept than it is a useful terminal because there is no way to input commands or action responses.
However, if you wish to have a go at recreating this Raspberry Pi project, or something similar, you can check out the original on YouTube and also explore its source code on GitHub.
Flash an LED lightbulb
If you’re new to Raspberry Pico, this simple project involving LED lights might be the one for you. The Raspberry Pi Foundation came up with an easy way to learn to use the microcontroller board and test your MicroPython skills without requiring too many tools. Apart from the Pico, you will also need a micro USB cable, a few electronics components, including a button and an LED with an appropriate resistor, an external 5V micro USB power source, as well as a desktop PC or laptop that can run Thonny IDE and programme the Raspberry Pico. Once you assemble all the tools, you will connect a Raspberry Pi Pico to your device and install the Thonny Python IDE. Next, you will write a MicroPython programme to light up the onboard LED.
This project is not only easier than most Pico designs, but you can also make it your own by experimenting with additional components, such as using pulse width modulation to control the LED’s brightness, or even adding a motor controller. By adding other components, you can edit this entry-level project to better suit your skills without being thrown in at the deep end of microprogramming. You can also check out the Raspberry Pi Foundation for more Pico projects.

-
 Enterprise AI adoption is about to get the Big Brother treatment
Opinion Worried your staff aren’t using those shiny AI tools you petitioned for? Big tech has you covered
-
 Dreamforce 2025: What's an agentic OS?
ITPro Podcast NPUs, e-ink, and immersive headsets are the latest hardware innovations for business devices


-
 Arm acquires stake in Raspberry Pi in bid to drive IoT development
News The deal confirms a long-standing Raspberry Pi commitment to Arm chips
-
 Raspberry Pi 5: New model is “2-3 times more powerful” than previous generation
News The new Raspberry Pi 5 will provide a “no-compromise user experience”, the firm said
-
Sony invests in Raspberry Pi to strengthen edge AI offering
News The move follows longstanding ties between the two firms
-
 Return of the Mac
In-depth Developer Jarosław Mazurkiewicz explains the creative process behind MacintoshPi and why he wanted to bring a classic Mac back to life
-
 Raspberry Pi ten years on: Breathing new life into retro machines
In-depth A full decade after the Raspberry Pi first hit shelves, the microcomputer is reviving older PCs and games consoles
-
 The IT Pro Podcast: Turning developers into craftspeople
IT Pro Podcast Making software is about much more than pushing code, explains Raspberry Pi founder Eben Upton
-
 What is the Raspberry Pi Pico?
In-depth Introducing the latest $4 member of the family of single-board microcomputers
-
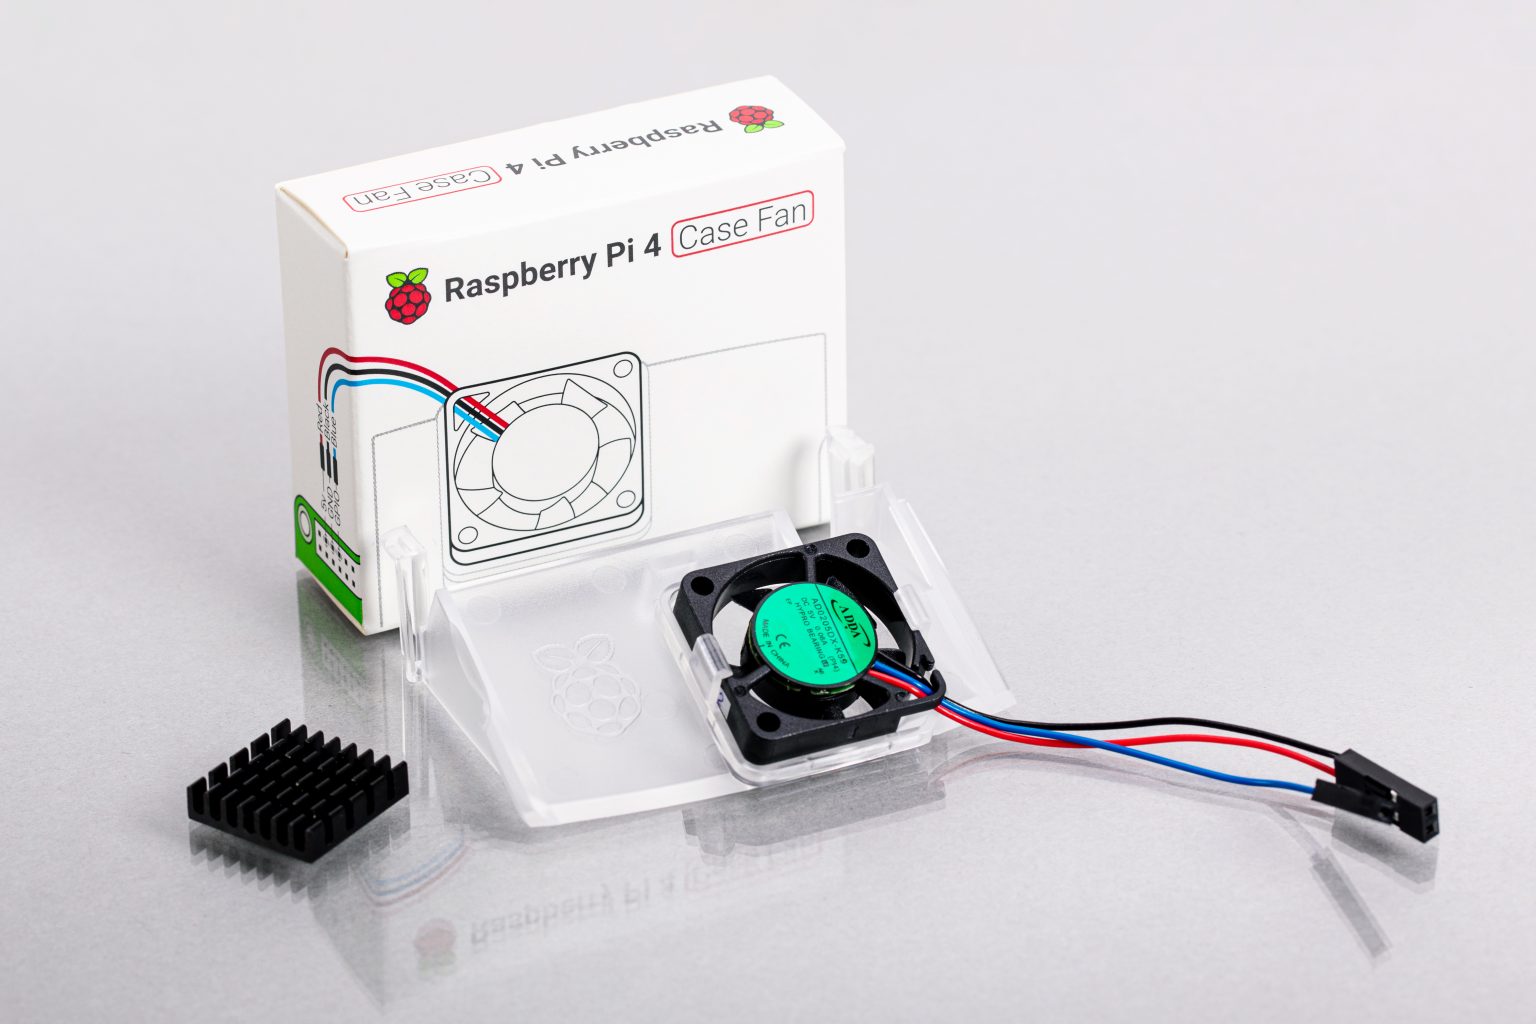 Raspberry Pi 4 gets an official case fan
News The £4.50 fan will prevent the board's ARM Cortex-A72 processor from overheating


