How to run Chkdsk on Windows
A guide to the various ways of accessing and running the Chkdsk function on Windows

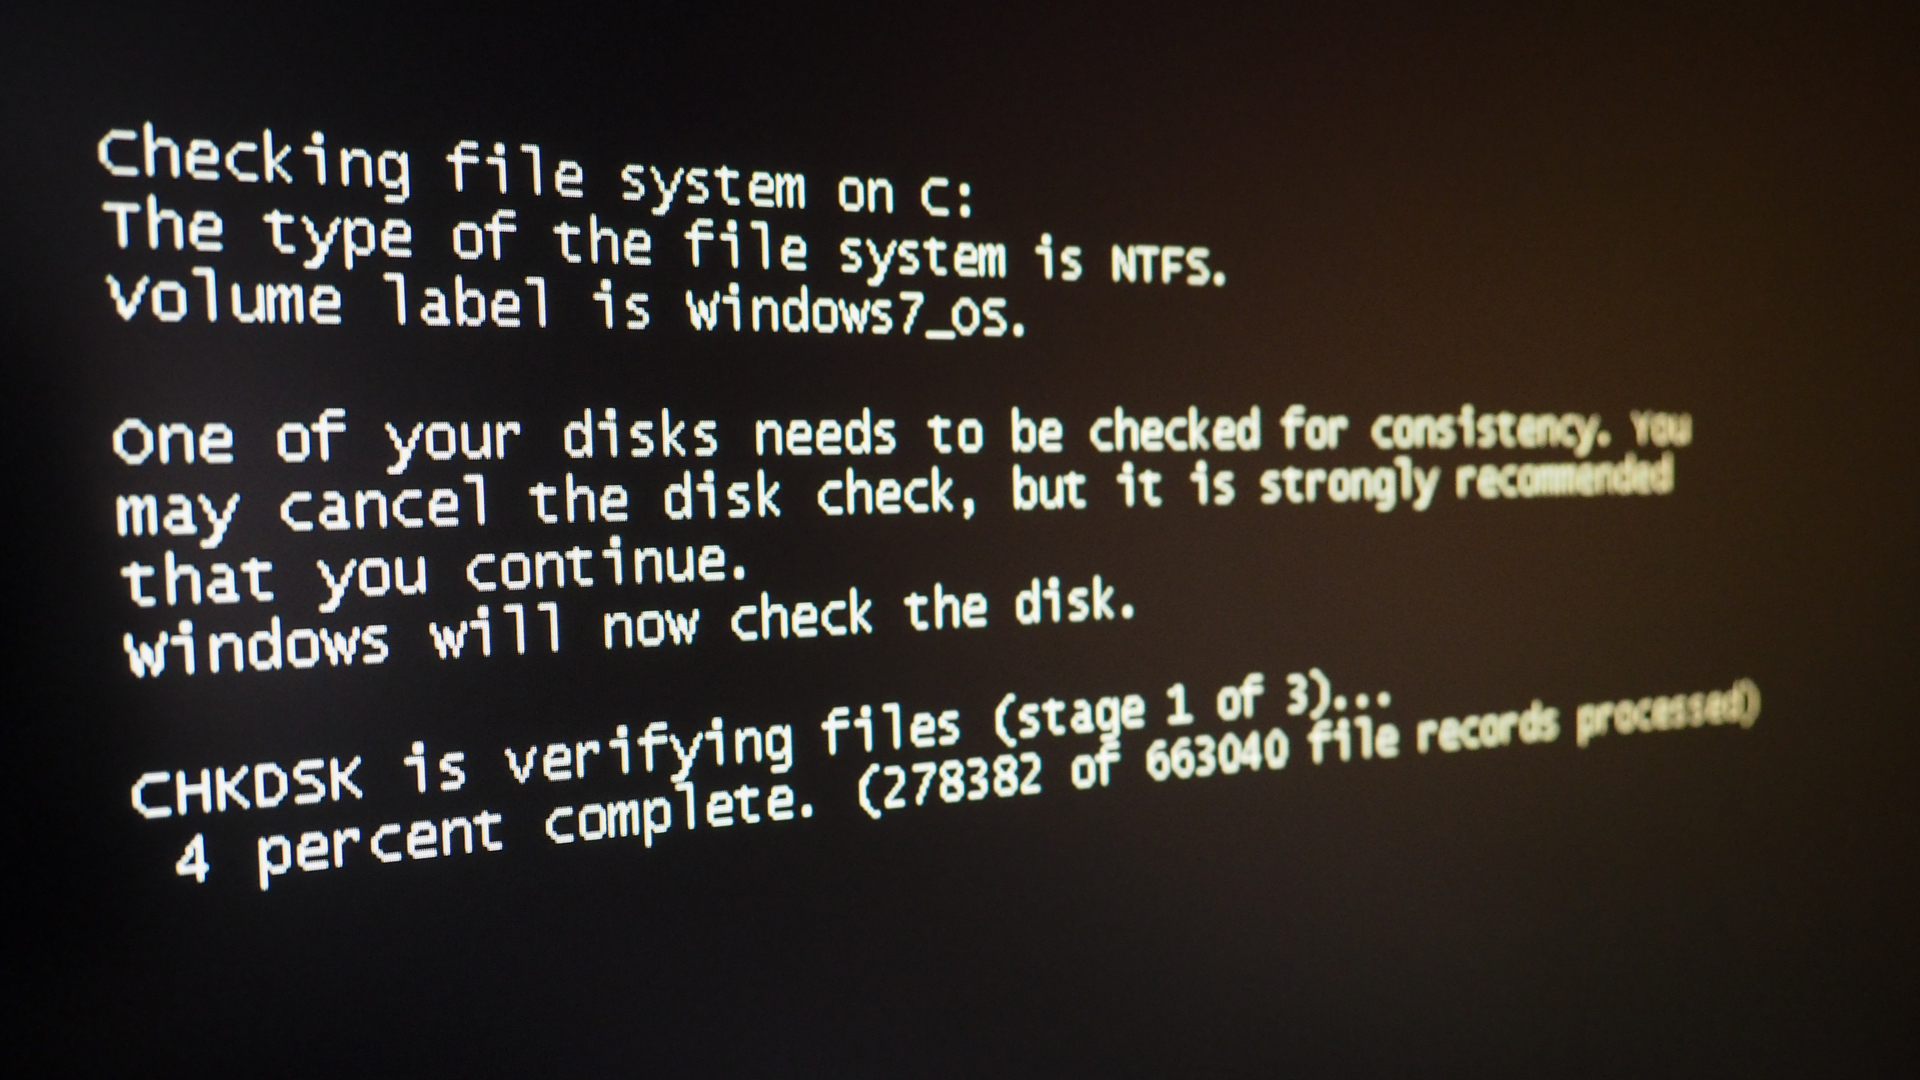
The Chkdsk function is a tool capable of seeking out and repairing hard drive issues on Windows operating systems. This powerful tool analyses the hard drive to prevent major issues from spiralling out of control and resulting in hardware corruption. The procedure is somewhat in-depth and can take some time to complete.
The Chkdsk function is handy for identifying potential problems with a storage device, and can perform a variety of functions, from fixing issues to assessing the integrity of a system file. Chkdsk is particularly efficient at fixing corrupted master file tables, weak security descriptors, and incorrectly entered timestamps.
The tool is also good for scanning sectors for signs of corruption that may be degrading overall performance. The tool checks specifically for so-called 'soft' or 'hard' bad sectors.
Soft bad sectors are those that have become corrupted during the write process, while hard bad sectors are the result of physical damage to the device. The Chkdsk function is useful for handling these bad sectors, as it's able to repair the soft ones, and isolate the hard ones so they're not used.
How to run Chkdsk
Most Windows systems have the means to use Chkdsk, from Windows 7 to the latest version of Windows 10. Users of legacy Windows systems, including Vista or XP, can also trigger Chkdsk to analyse their hard drives for any bad sectors or issues. The tool can normally be triggered for each hard drive, or even individual partitions, as you boot into windows.
There are a number of ways to run the Chkdsk function. One popular method is to use the Command Prompt, which is handy if you're unable to access the desktop. You can either use Recovery Mode, or the original installation medium to boot and then run Command Prompt in order to run Chkdsk this way.
How to run Chkdsk using a Command Prompt
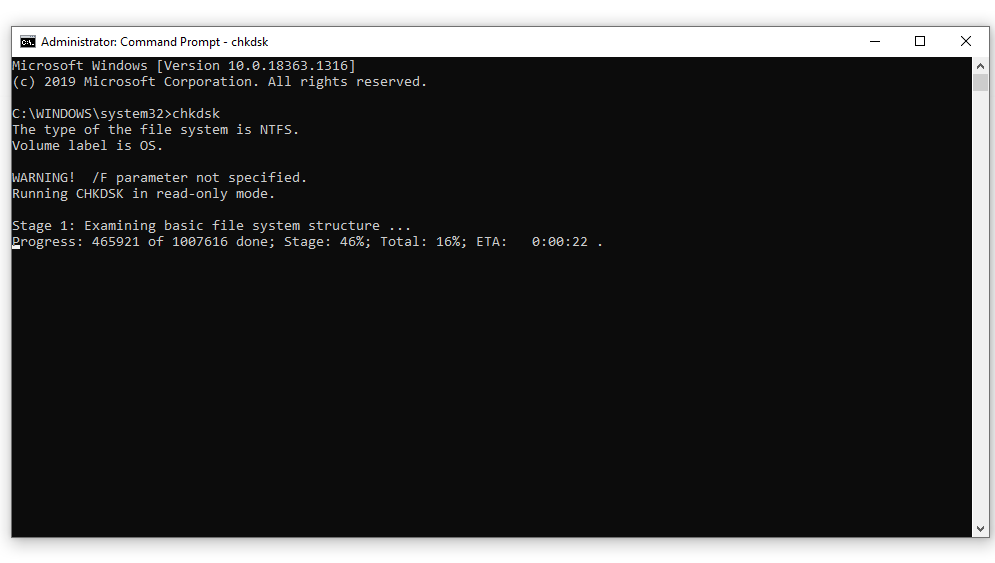
- Open the Command Prompt either using Safe Mode or by typing 'cmd' into the Windows search box and running the Command Prompt application
- Type 'chkdsk volume :/r' into the Command Prompt window, replacing 'volume' with the letter associated with the drive you would like to scan
- Wait for the process to finish
How to run the Chkdsk function without using Command Prompt
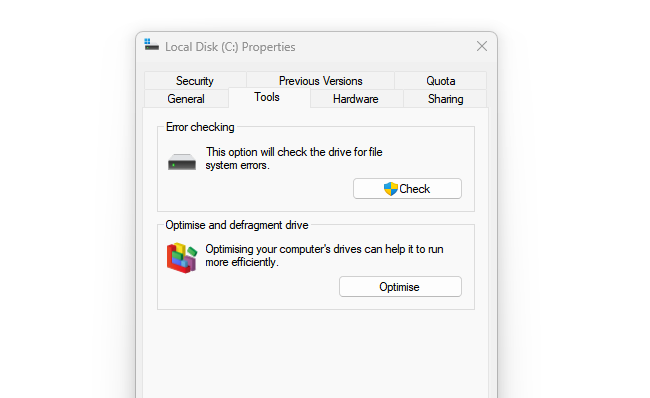
- Open 'This PC', which is found in your folder directory
- Right click the hard drive you would like to scan
- Click Properties
- Click the Tools tab
- Under Error Checking, click Check
To repair errors without scanning for bad sectors, select the 'Automatically fix file system errors' box and to repair errors and scan for bad sectors, select the 'Scan for and attempt recovery of bad sectors' box. The utility will notify you if the scan finds any errors or not.
Sign up today and you will receive a free copy of our Future Focus 2025 report - the leading guidance on AI, cybersecurity and other IT challenges as per 700+ senior executives

Keumars Afifi-Sabet is a writer and editor that specialises in public sector, cyber security, and cloud computing. He first joined ITPro as a staff writer in April 2018 and eventually became its Features Editor. Although a regular contributor to other tech sites in the past, these days you will find Keumars on LiveScience, where he runs its Technology section.
-
 What is Microsoft Maia?
Explainer Microsoft's in-house chip is planned to a core aspect of Microsoft Copilot and future Azure AI offerings
-
 If Satya Nadella wants us to take AI seriously, let’s forget about mass adoption and start with a return on investment for those already using it
Opinion If Satya Nadella wants us to take AI seriously, let's start with ROI for businesses
-
 The Microsoft bug bounty program just got a big update — and even applies to third-party code
News Microsoft is expanding its bug bounty program to cover all of its products, even those that haven't previously been covered by a bounty before and even third-party code.
-
 Should your business start a bug bounty program?
In-depth Big tech firms including Google, Apple and Microsoft offer bug bounty programs, but can they benefit smaller businesses too?
-
 OpenAI to pay up to $20k in rewards through new bug bounty program
News The move follows a period of unrest over data security concerns
-
 Windows 11 System Restore bug preventing users from accessing apps
News Microsoft has issued a series of workarounds for the issue which is affecting a range of apps including Office and Terminal
-
 Windows 10 users encounter ‘blue screen of death’ after latest Patch Tuesday update
News Microsoft said it is working on a fix for the issue and has offered users a temporary workaround
-
 SpaceX bug bounty offers up to $25,000 per Starlink exploit
News The spacecraft manufacturer has offered white hats immunity to exploit a wide range of Starlink systems, with a dedicated report page
-
 Microsoft announces lucrative new bug bounty awards for M365 products and services
News The new awards will focus on scenario-based weaknesses and offer bonuses of up to 30% for the most severe bugs
-
 Adobe forced to patch its own failed security update
News Company issues new fix for e-commerce vulnerability after researchers bypass the original update