
Windows is by far the most popular operating system in the world – but for developers and power users, it's often helpful to be able to switch to a Linux environment. In the past, this meant dual-booting or installing your chosen distribution in a virtual machine. But since 2016 there's been a better way: the Windows Subsystem for Linux (WSL) is an optional OS component that provides a fully working, officially supported Linux environment right inside Windows.
The major limitation of WSL, when it was first introduced, was that it was a text-only interface. You could run scripts and command-line programs, but graphical applications were off the menu. That's no longer the case. All desktop editions of Windows 10 and 11 now support WSLg – an updated version of WSL, where the "g" stands for GUI. It enables you to run graphical Linux applications directly on the Windows desktop, with minimal configuration. It's a huge boon for anyone who works across multiple platforms, or who just wants to try out applications and tools that aren't available for Windows.

WSLg isn't installed by default, but it's not hard to set up. Here's our guide to installing it and running your first Linux app on Windows. We're using Windows 11, but the same instructions will work for Windows 10; in either case, just make sure you're using the latest version of the OS, so that all the relevant modules are installed.
Installing WSL and setting up your Linux account
You can install WSL from the Microsoft Store, but most of the setup process is carried out at the command line, so we may as well start there. We'll use a PowerShell session with administrator privileges – an easy way to open one is right-click the Start menu and select "Windows Terminal (Admin)", then click Yes to allow changes to your system. Once the window appears, the actual process of installing WSL could hardly be easier. Just enter: wsl --install


You may be asked again if you're happy for changes to be made; click Yes and the installation will complete automatically. By default, this command will install not only the Linux subsystem, but a core Ubuntu Linux distribution, to support Linux apps and services. If you'd prefer to use a different version of Linux, see "Installing additional Linux environments". Reboot your PC once the process completes.
Since Linux doesn't use the same user account and security systems as Windows, the next step is to set up your login for the Linux environment. To do this, launch Ubuntu from the Start menu and wait for it to complete some background housekeeping.
Eventually, you'll be asked to "Enter new UNIX username": this can be the same as your Windows username, but it doesn't have to be – it's a completely separate credential.
Once you've supplied that, you'll be prompted to enter a new password (it's best practice to use a different one to your Windows password). When you've confirmed your new Linux password, you'll find yourself looking at a Linux shell prompt. You can end your Linux session by simply entering "exit" – but don't do that yet.
Updating Linux
Just as with a fresh installation of Windows, job number one for your new Linux installation is to check for updates. Like most distributions, Ubuntu uses the apt package manager, and you can tell it to check for updates by entering: sudo apt update

You'll be prompted for your password; Ubuntu will then check its repositories for updated versions of any of the installed packages and tell you how many it's found.
In our case, it found 74, which we then downloaded and installed by entering: sudo apt upgrade. When asked if you want to continue to install the updates, press "y". If you're familiar with Linux you'll already know that "sudo" is short for "super user do" (or "substitute user do", depending on who you ask). It tells the operating system to execute a command with elevated user privileges, in much the same way that we launched Windows PowerShell as administrator.
Installing Linux Applications
Now that your Linux installation is up to date you can start installing and running Linux applications. As an example, let's install Shotwell, an open-source photo cataloging tool that replicates some aspects of Adobe Photoshop Lightroom. At the Linux terminal prompt, enter: sudo apt install shotwell.
As before, Ubuntu will check its online repositories for the necessary files; when it's located them, it will tell you how much disk space the program will consume and check that you want to proceed with the installation. At the time of writing, Shotwell weighed in at 406MB – so it's not too huge, and because WSL runs inside the native OS you don't need to worry about dividing up space between your Windows and Linux software.
If you're happy to proceed and install Shotwell, press "Y", then hit Return. Ubuntu then downloads all the necessary files, unpacks and installs them. This can take a few minutes; once it's done, Shotwell will appear in the Windows Start menu alongside your regular Windows apps.
Like all newly added programs, Shotwell will initially appear in Windows 11's Recommended panel; when it disappears from here, you'll find it by opening All Apps and expanding the menu beside Ubuntu (or your alternative distribution if you're not running Ubuntu). You don't need to keep the WSL shell open to run the program: when launched from the Start menu it will appear in its own floating window, just like a native Windows app.
Working with Linux files WSL provides quite seamless integration between Windows and Linux software – but once you start working inside the Linux environment, you may find that life is complicated by the way in which Linux apps don't use the same default personal folders as Windows (such as Desktop, Documents, and Downloads).
RELATED RESOURCE

Automating application-driven container elasticity
Discover the key concepts to consider for container platform adoption and how to protect that investment with automation.
If you want to access your Linux files from Windows Explorer, simply scroll down the sidebar to the list of volumes: you'll see a new entry below your network drives labeled "Linux". Expand this, open the Ubuntu folder inside it, and open the "home" folder to find your Linux user folder. In the screenshot on the left, you can see that my user folder is called "nik", since that's the name I provided when setting up my account in step two. Files whose names start with a dot are visible in Windows but normally hidden in Linux.
An easier way to get to your Linux files is to install a native file manager, such as Nautilus. Do this by typing the following at the Linux terminal prompt and pressing Return: sudo apt install nautilus -y Adding the "-y" switch to the end of the command tells Linux to automatically answer "yes" when asked whether we want to continue, making the installation process slightly more streamlined. Once it's installed, Nautilus will appear as an app called Files in your Windows Start menu.
Setting up Snaps and installing Firefox If you want to do any useful work in Linux, it will probably help to have a Linux-based web browser. Firefox is a popular choice, but when you try to install it you'll run into a small hurdle. This particular application is distributed in the form of a "Snap", a bundle of files that contains everything required to run a program across a wide range of OS versions and configurations.
Snaps sound ideal for our purposes, but they rely on a low-level Linux component called "systemd", which isn't enabled in WSL by default (because core functions are handled by the Windows OS instead). Happily, recent releases of WSL have retrofitted systemd as an option, so we can enable it quite simply by editing a system configuration file.
To do so, enter the following at the Linux terminal prompt: sudo nano /etc/wsl.conf


-
 Alert issued over critical vulnerabilities in Linux’s AppArmor security layer – more than 12 million enterprise systems are at risk of root access
News Researchers have warned Linux flaws allow unprivileged local users to gain root privileges and weaken container isolation
-
 Best server distros
Best We've evaluated the best server distros around to help you and your business make the best choice for your OS
-
 Trello for business: A complete guide to managing your workflows
Tutorials From the free tier to the enterprise version, ITPro talks you through your Trello workflow, from start to finish
-
 "We got lucky": What the XZ Utils backdoor says about the strength and insecurities of open source
Analysis The XZ Utils backdoor could’ve caused serious problems for Linux, but luckily a developer spotted the malicious code and prevented disaster
-
Linux just hit an all-time high share of the global desktop market — and surging popularity in India is driving uptake of the open source operating system
News Linux is still dwarfed by operating systems such as Windows, but it’s making modest gains off the back of growing popularity in emerging markets
-
 Windows is getting its own Sudo command, just like Linux - here’s what you need to know and how you can use it
News The Sudo for Windows command feature might make life a little easier for administrators - so long as they are aware of the potential security risks
-
 Linux Blue Screen of Death gives users a taste of the dreaded Windows feature
News The Linux Blue Screen of Death has been added in a recent update
-
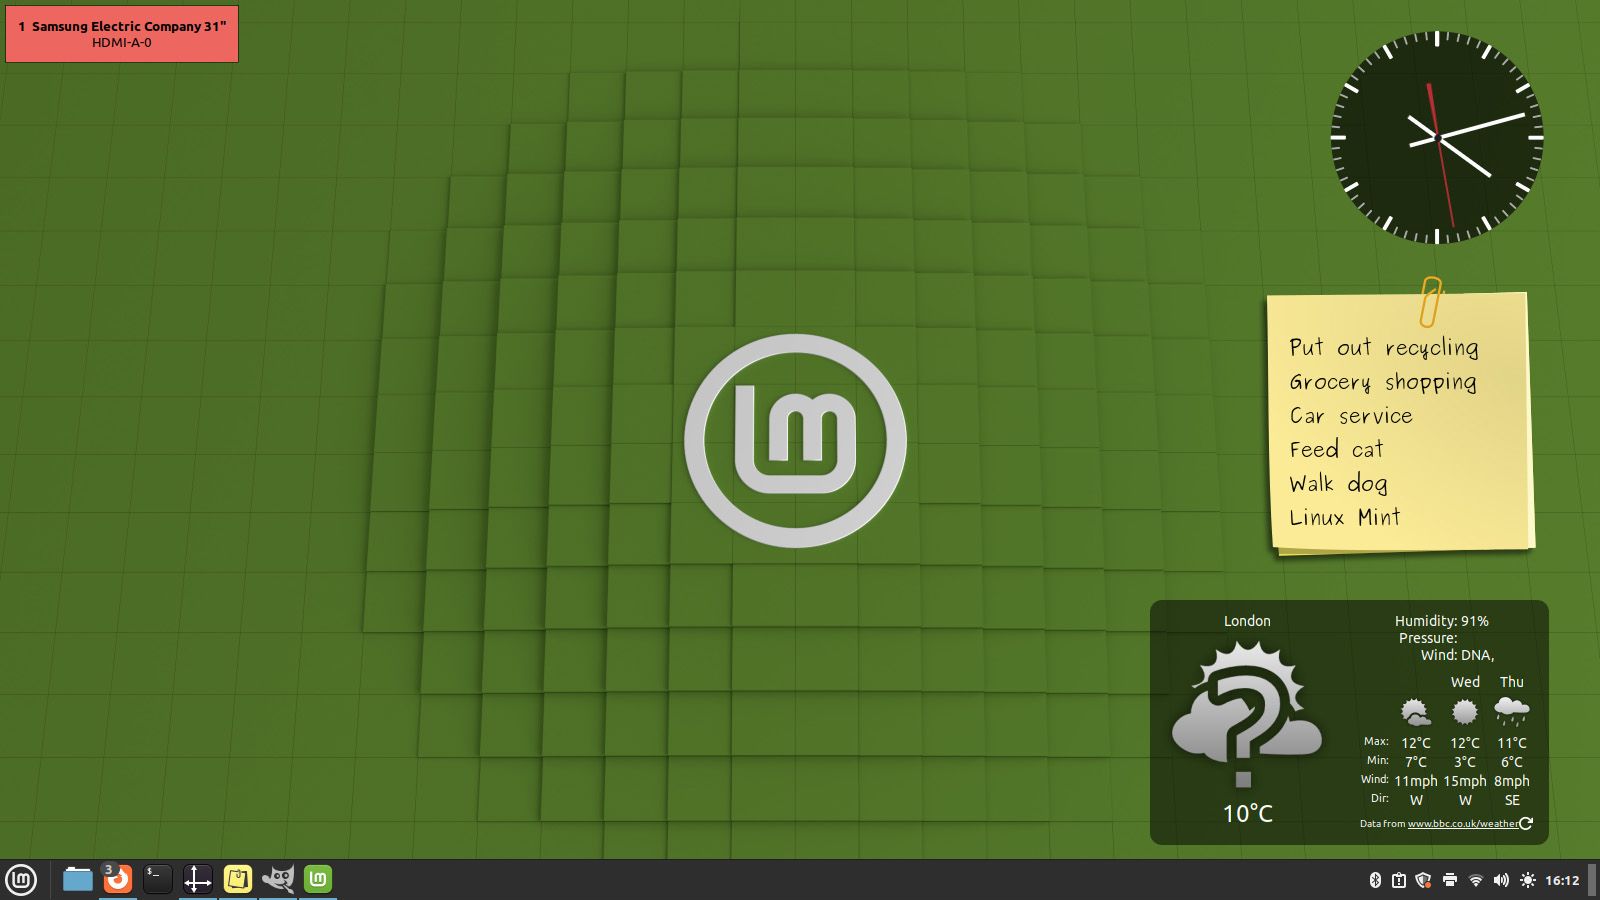 Five things to consider when switching to Linux Mint
In-depth A guide to what you'll need to think about if you switch your old laptops to Linux Mint


